Call of Duty: Warzone Season 1 has officially unleashed Area 99, the high-speed Resurgence map built directly upon the testing grounds of the iconic Nuketown lore. Featuring tight industrial bunker hallways, radioactive testing reactors, and vertical assembly plant rooftops, Area 99 demands lightning-fast decision making and surgical close-quarters gunplay. Powered by the unified Omnimovement engine, mastering omni-sprinting, backward sliding, and diving around tight corners is essential to surviving high-kill lobbies. This definitive meta guide breaks down the fastest Time-to-Kill (TTK) weapon builds, controller deadzone calibrations, and pro audio equalizer settings.
1. The Close-Range SMG Meta: Jackal PDW vs C9 vs Tanto .22 TTK Breakdown
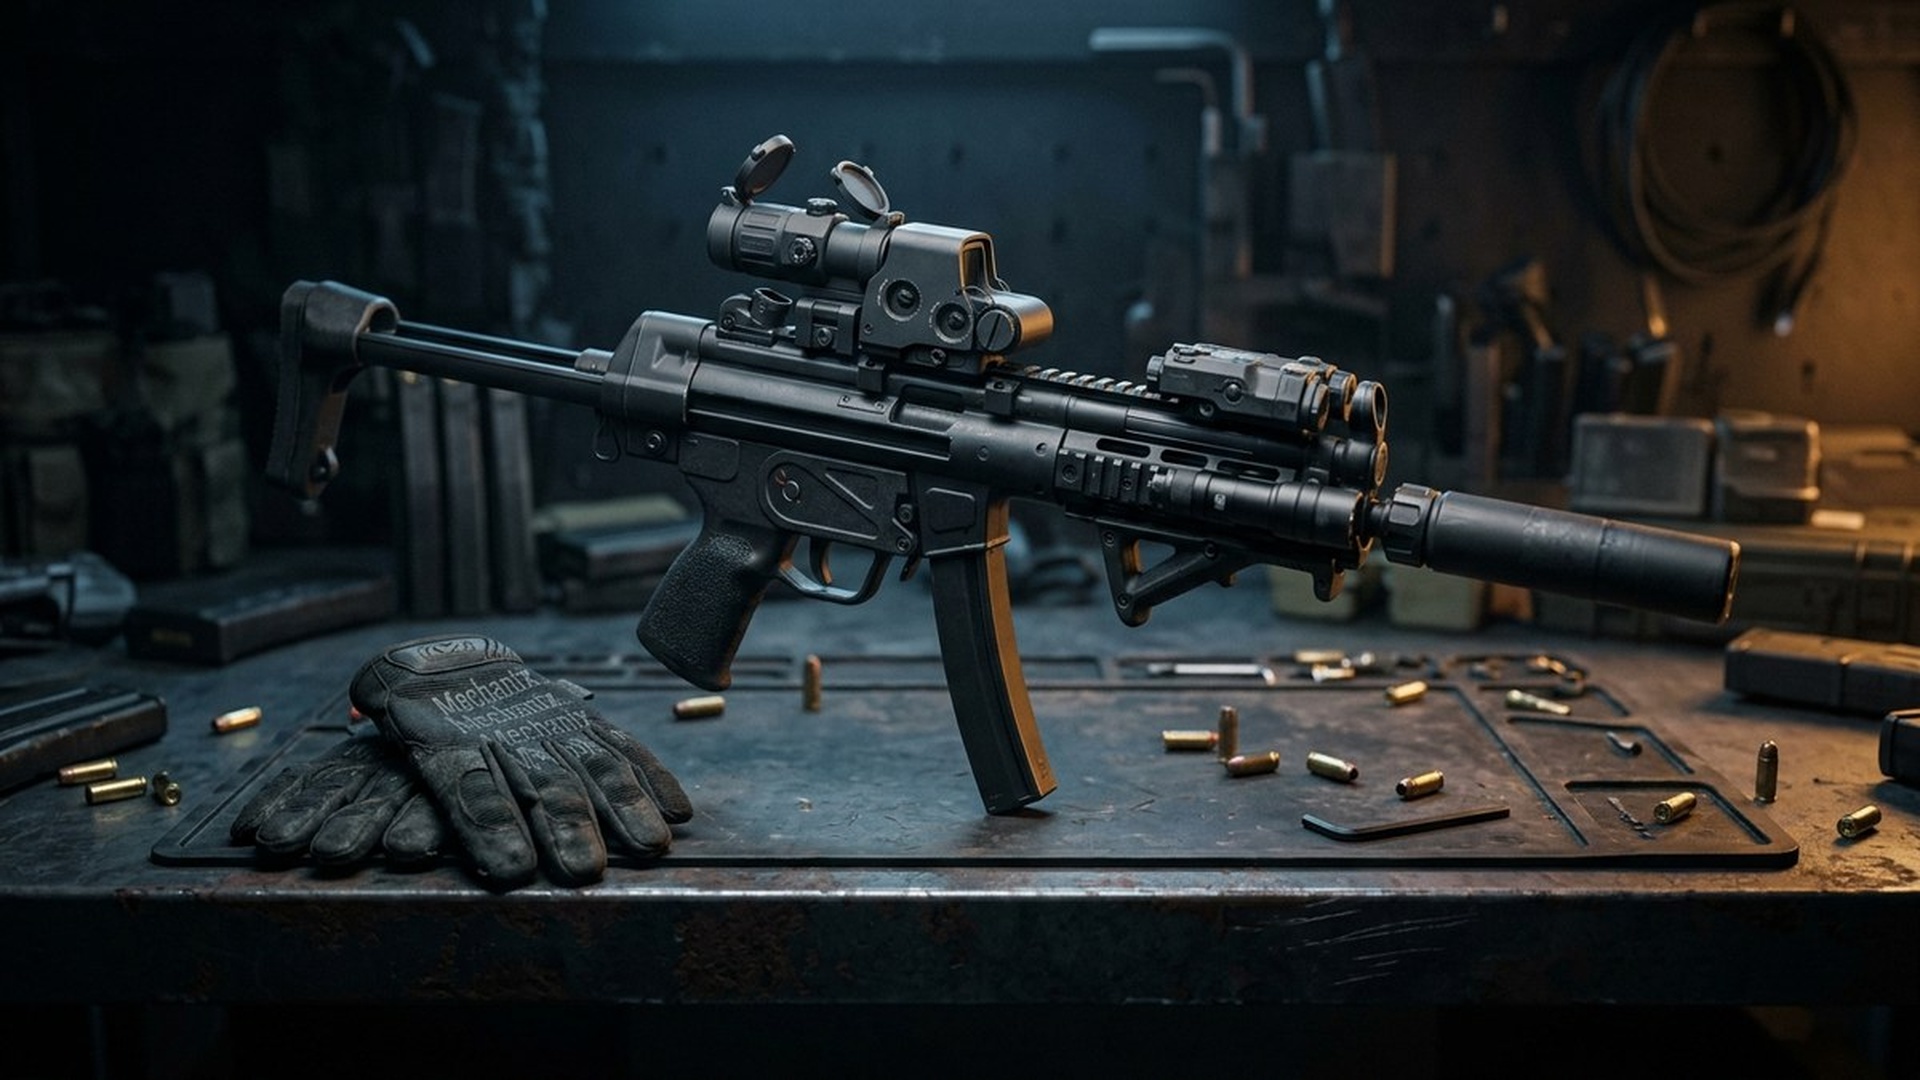
In Area 99’s cramped reactor corridors, engagements frequently occur under 12 meters. In this critical distance window, sprint-to-fire speed and initial shot multiplier dictate duel outcomes. The Jackal PDW remains the undisputed king of aggressive close-range combat, boasting a blistering 495ms chest TTK when built with the Compensator and Ranger Foregrip.

For players who prefer mid-range versatility, the C9 offers cleaner iron sights and exceptional horizontal recoil stabilization, making it ideal for beaming enemies rotating across open asphalt roadways between the Test Site and Mannequin Assembly. Meanwhile, the hard-hitting Tanto .22 rewards disciplined headshot aim: its slower fire rate is compensated by an explosive 3-shot kill potential if you hit upper chest or cranial hitboxes.
| Meta Weapon | Optimal Barrel & Muzzle | Magazine & Grip | Stock / Movement Perk | Effective TTK (0-15m) |
|---|---|---|---|---|
| Jackal PDW (S-Tier) | Compensator + Long Barrel | 40-Round Mag + Ergonomic Grip | Infiltrator Stock | 495ms (Dominant) |
| C9 (A-Tier Versatile) | Ported Compensator + Reinforced | Extended Mag I + Quickdraw Grip | Light Stock | 520ms (Laser Accurate) |
| Model L (Primary AR) | Muzzle Brake + Heavy Barrel | 45-Round Drum + Vertical Foregrip | Balanced Stock | 565ms (Mid-to-Long King) |
2. Omnimovement Settings: Deadzones, Tactical Sprint Assist & Corner Diving
Omnimovement allows players to sprint, slide, and dive in any direction (forward, backward, left, right) seamlessly. To maximize this mechanical advantage on controller, adjust your in-game controller telemetry:
- Left Stick Min Deadzone: Set to 2 or 3 (eliminates micro-delay when initiating omni-sprint).
- Tactical Sprint Assist: Set to Enabled with a delay of 0ms. Moving your left stick immediately triggers max velocity sprinting.
- Slide/Dive Behavior: Set to Hybrid or Tap to Slide. This prevents accidental diving when attempting a bunny-hop slide cancel around doorframes.
- Corner Cam Assist: Set to Off to ensure camera tracking remains 100% under manual player thumbstick control.
4. Long-Range Weapon Meta: Model L vs AMES 85 vs SVD Sniper Tuning
While close-range SMG duels dominate the interior of Area 99’s reactor pods and assembly plants, winning matches requires controlling the exterior perimeter. Teams rotating out of low-ground drainage canals toward elevated compound roofs are exceptionally vulnerable to disciplined long-range fire. In these mid-to-long range combat zones (35 to 80 meters), two assault rifles dominate high-skill lobbies: the Model L and the AMES 85.
The Model L provides an unmatched combination of bullet velocity (over 980 m/s with the Reinforced Barrel) and horizontal recoil predictability. Equipping the 45-Round Drum and Vertical Foregrip allows players to sustain laser-accurate fire across open tarmac without needing complex thumbstick pull-down adjustments. For precision sharpshooters, the semi-automatic SVD Sniper Rifle equipped with the 2.5x Optic delivers an explosive two-tap elimination to the chest, making it the premier weapon for picking off players attempting to parachute in from late Resurgence redeployments.
5. Area 99 High-Kill Drop Locations & High-Ground Rotation Routes
Securing a 20-bomb in Area 99 Resurgence requires mastering high-density drop zones and rotational flow:
- Reactor Testing Facility (Hot Drop): Located in the map center, this multi-tier industrial complex features five high-tier loot crates and an immediate Buy Station. Land on the high cat-walks to secure an early SMG, then hold the stairwell chokepoints against teams pushing from the lower bunker.
- Mannequin Assembly Plant: Offers abundant cash spawns and fast contract access (Scavenger and Bounty). The modular conveyor belts provide excellent cover for slide-canceling into aggressive 1v1 gunfights.
- The Cooling Towers (Power Position): The highest natural elevation on the northern edge of the map. Holding the perimeter catwalk with a Model L or SVD allows your squad to gatekeep rotating squads fleeing from radioactive gas collapses in Phase 4 and Phase 5.
6. Pro Footstep Audio Equalization: PC & Console Settings
Audio awareness in Area 99 can mean the difference between clutching a 1v3 or getting wiped from behind. Call of Duty’s default audio mix heavily amplifies cinematic killstreak explosions and ambient air-raid sirens, drowning out critical enemy footsteps on metal grating.
To achieve tournament-grade audio separation, apply these calibrated equalizer settings inside your audio interface or PC sound control software:

- 125 Hz (Low Bass / Explosions): Reduce by -4dB to eliminate booming grenade resonance.
- 250 Hz – 500 Hz (Muddy Mid-Range): Reduce by -2dB to clean up voice chat clutter.
- 1 kHz – 2 kHz (Footstep Impact / Slide Scuffs): Boost by +4dB. This directly emphasizes boot footsteps on concrete, dirt, and sheet metal.
- 4 kHz – 8 kHz (Armor Break & Parachute Cues): Boost by +5dB. Critical for instantly detecting enemies cutting parachutes directly above your rooftop position.
7. Tactical Equipment & Lethal Economy: Stim Shots vs Smoke Grenades
Equipment selection in Area 99 Resurgence demands a delicate balance between escape mobility and visual concealment. With radioactive gas circles collapsing rapidly across open tarmac, carrying two Smoke Grenades per squad member is non-negotiable for late-game rotations. Deploying smoke grenades allows teams to cross exposed courtyard sightlines without getting beamed by thermal-scoped snipers stationed atop the Cooling Towers.
For aggressive solo entry players, Stim Shots remain an essential tactical utility. In Season 1, Stims not only instantly initiate health regeneration but also grant a 3.5-second burst of 15% increased tactical sprint speed. Combining a Stim burst with backward omni-sliding allows high-skill duelists to break enemy camera tracking and re-challenge angles with full armor.
8. Resurgence Redeployment Timing & Gulag Elimination Protocol
Understanding the mathematical mechanics of Resurgence countdown timers is essential for squad survival. In Area 99, every eliminated opponent subtracts 5 seconds from your downed teammates’ redeployment timer, while securing active cash crates reduces the timer by 2 seconds. When two squadmates are dead in Phase 3, the remaining anchor player should immediately disengage from active firefights and open nearby medicine cabinets to accelerate respawns.
Once the Resurgence countdown closes in Phase 5, deaths become permanent. Squads that secure elevated position inside the Mannequin Assembly catwalks can lay suppressive fire on opposing squads attempting to parachute into the final circle, securing clean victory royale eliminations before the radioactive storm collapses entirely.
9. Bunker Easter Eggs & Secret Nuclear Warhead Telemetry
Area 99 features an intricate underground Easter egg narrative connecting the Nuketown testing facility to covert Cold War weaponry experiments. By interacting with computer terminals located across the three reactor silos and decoding numerical audio broadcasts, squads can open the master command bunker beneath the Cooling Towers.
Inside the command vault, players uncover high-tier specialist perk packages, advanced UAV killstreaks, and the classified “Mannequin Protocol” blueprint. Successfully extracting the blueprint unlocks an exclusive neon weapon camo usable across both Black Ops 6 multiplayer and Warzone battle royale playlists.
10. Competitive Squad Communication & Ping System Calibrations
High-speed combat across Area 99 leaves zero room for communication delays. Rebind your tactical ping button to an accessible bumper or paddle to immediately mark enemy redeployment trails and gas mask drops for teammates.
In the Interface settings menu, customize your HUD color palette to high-contrast neon yellow or bright cyan. This ensures that enemy pings and objective markers stand out clearly against the radioactive green haze and concrete gray surfaces of the test facility.
3. Frequently Asked Questions (FAQ) — Warzone Season 1 Area 99
Q: What is the maximum player count on Area 99 Resurgence?
Answer: Area 99 supports 45 players in Quads, Trios, and Solos lobbies, creating a dense, fast-paced combat flow similar to Rebirth Island.
Q: Which audio mix preset provides the clearest footstep cues in Area 99?
Answer: Use the ‘Headphone Bass Boost’ preset with Master Volume at 100%, Gameplay Music at 0%, Dialogue at 40%, and Effects Volume at 100%.
Q: How can players open the Reactor Bunker easter egg on Area 99?
Answer: Collect three keycards located at the Cooling Towers, Mannequin Assembly, and Warehouse, then swipe them simultaneously at the underground blast door within 60 seconds.
Related Call of Duty Competitive Guides:
Related posts:
 Black Ops 6 Season 1 Reloaded Meta Weapon Tier List: Best TTK Loadouts, Attachments & Omnimovement Tuning
 BGMI & PUBG Mobile 3.5 Glacier Update: Icemire Frontier Secret Vault Locations, Frost Dragon & 120 FPS Guide
 Counter-Strike 2 Sub-Tick Audio & Interpolation Fixes: Best Autoexec Commands, Rates & Packet Smoothing Guide
 Clash Royale CRL 2026 World Finals Meta: Top Decks, Evolution Synergies & Golden Ticket Predictions