
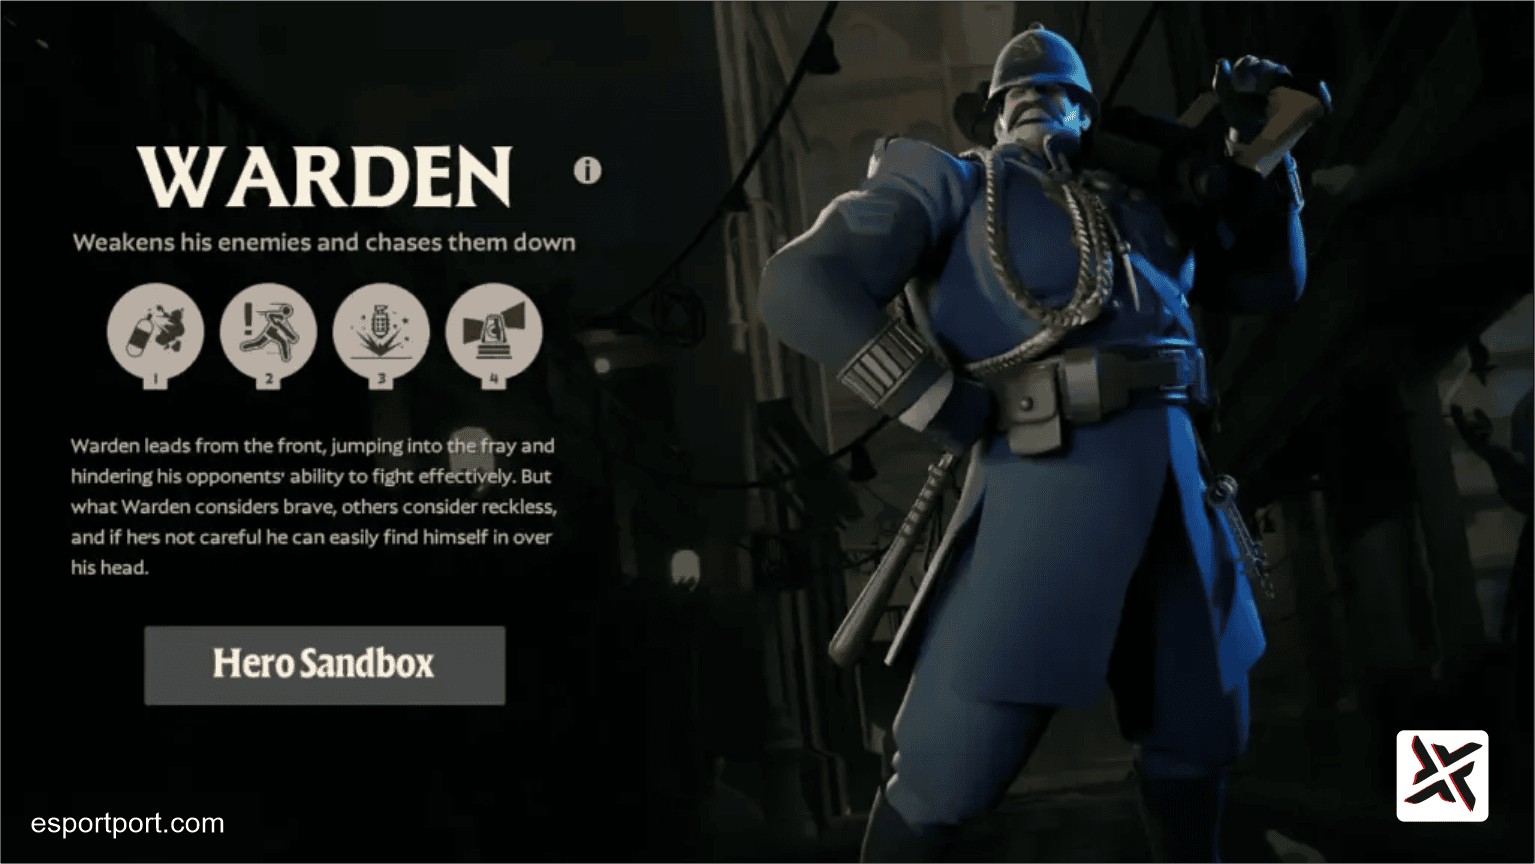
If you have jumped into high-Elo Deadlock lobbies recently, you already know the terror of facing an unkillable Warden. Boasting a staggering 58%+ win rate across competitive leaderboards, Warden has cemented himself as the undisputed S-Tier juggernaut of the current meta.
Warden’s power comes from a terrifying combination of endless crowd control, massive base shield regeneration, and the ability to solo dive enemy towers without taking structural damage. However, building Warden incorrectly with standard squishy weapon items will leave you immobile and easily kited. Here is the official valve deadlock warden build guide, including early-lane itemization, power-spike transitions, and the lethal Veilwalker combo.
- Table of Contents:
- Warden’s Core Playstyle & Abilities
- Early Game Laning Items (0 to 10 Minutes)
- Mid Game Core Power Spike (10 to 25 Minutes)
- Late Game God-Tier Armor & Luxury Items
- Skill Upgrade Priority Order
- 💡 Expert Tip: The Invisible Cage Execution
🔥 NEXT UP (Don’t Miss This): Valve Deadlock Hero Tier List: Best Characters to Climb Ranked
1. Warden’s Core Playstyle & Abilities
Warden is an aggressive hybrid brawler who dominates close-quarters teamfights:
- 1 (Alchemical Flask): Throws a flask that slows enemies, reduces their weapon damage by 35%, and deals continuous spirit damage in an area.
- 2 (Willpower): Instantly gains a massive temporary spirit shield and bonus movement speed. Essential for tanking tower shots during dives.
- 3 (Binding Word): Places a curse on an enemy. If the target does not escape the radius within 3 seconds, they are rooted, damaged, and silenced.
- 4 – Ultimate (Last Stand): Channels a pulsing cosmic aura. After 2.2 seconds, releases a devastating energy burst that damages all nearby enemies while healing Warden for 100% of all damage dealt.
2. Complete Step-by-Step Item Progression
| Game Phase | Must-Buy Items | Souls Cost | Strategic Purpose |
|---|---|---|---|
| Early Game (0-10m) | Extra Health, Mystic Burst, Enduring Speed, Basic Magazine | ~2,500 Souls | Secures last-hits, prevents ganks, and allows aggressive tower trades |
| Mid Game (10-25m) | Veilwalker, Torment Pulse, Decay, Bullet Resist Shredder | ~8,000 Souls | Invisibility roaming + passive burn aura that melts clusters |
| Late Game (25m+) | Colossus, Siphon Bullets, Phantom Strike, Superior Cooldown | ~18,000+ Souls | Giant raid-boss scaling; unkillable sustain in 1v3 skirmishes |
3. Why Torment Pulse + Decay is Broken on Warden
- Torment Pulse: Emits constant pulses of spirit damage to all enemies around you. Because Warden wants to be standing in the center of the enemy team while channeling his ultimate, Torment Pulse deals thousands of passive damage during teamfights.
- Decay: An active item that inflicts a 50% healing reduction and bleeds 3% of the target’s current health per second. Popping Decay on enemy tanks (like Abrams or Kelvin) completely removes their ability to sustain against your Binding Word.
4. Skill Upgrade Priority
- Put 1 point into Alchemical Flask (1) at Level 1 for easy lane harass.
- Put 1 point into Willpower (2) at Level 2 for shield trading.
- Put 1 point into Binding Word (3) at Level 3.
- First Mastery: Max Binding Word (3) first. Tier 3 Binding Word reduces the escape window to 2.2 seconds and steals 6 weapon damage from the target permanently for 15 seconds.
- Second Mastery: Max Willpower (2) for massive shield scaling.
🛡️ EXPERT TIP: THE INVISIBLE VEILWALKER CAGE COMBO
How to execute the #1 initiation combo in Deadlock.
The single biggest mistake casual Warden players make is running straight down lanes in plain sight. In Deadlock, every lane contains cosmic doorway veils. As soon as you purchase Veilwalker, running through any veil grants you 5 seconds of complete invisibility and +30% sprint speed. Step through a side veil, sprint silently behind the enemy’s sniper or carry, cast Binding Word (3) directly onto their model, throw Alchemical Flask (1) at their feet, and immediately pop Willpower (2). By the time they realize you are behind them, the Binding Word roots them in place, preventing any dash or zipline escape. It is a guaranteed solo kill every single time.
Related posts:
 The Witcher 3 Remastered: September 2026 Free Upgrade Details
 Valve Deadlock: Best Mouse Sensitivity & Aim Tracking Settings Guide
 Valorant Night Market (October 2026): Next Start Date, Full Skin List & Best Deals [Updated]
 Valorant Night Market: Can You Reroll Cards? (Discount Reset Myth Explained)