
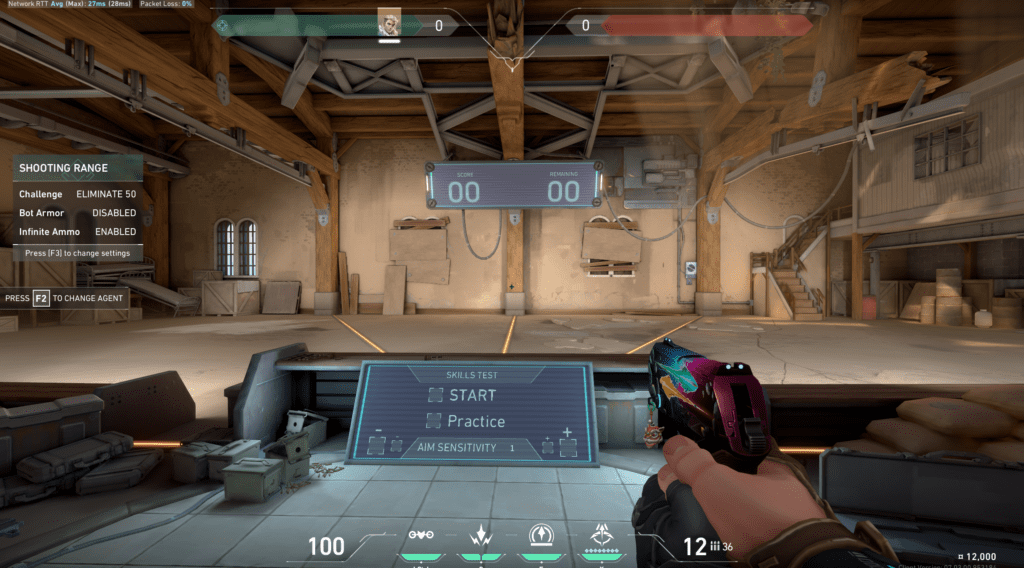
Spending forty-five minutes mindlessly flicking at static Practice Range bots before queuing into competitive lobbies is the most common reason hardstuck Ascendant and Immortal players plateau. A truly effective Valorant aim routine does not train wide horizontal hero flicks; instead, it builds subconscious pre-aim discipline, first-bullet deadzoning accuracy, and micro-adjustment muscle memory at head level.
Whether you are grinding VCT Premier qualifiers on PC at 240Hz or climbing the console leaderboards on PlayStation 5 and Xbox Series X/S using Focus Mode curves, fifteen minutes of deliberate movement-plus-aim synchronization outperforms an hour of unfocused Deathmatch spam. Below is the exact step-by-step warm-up protocol, eDPI calibration table, and strafe-shooting breakdown used by top Radiant duelists in 2026.
- Table of Contents:
- 1. Why Passive Crosshair Placement Beats Raw Flicking Speed
- 2. The 15-Minute Radiant Range & Deathmatch Warm-Up Protocol
- 3. Optimal PC eDPI & Console Focus Curve Settings by Role
- 4. 💡 Pro Tip: Mastering the Single-Bullet Deadzone Strafe Timing
🔥 NEXT UP (Don’t Miss This): Valorant Best Crosshair Codes for Instant Headshots (Pro Player Profiles)
1. Why Passive Crosshair Placement Beats Raw Flicking Speed
Before firing a single Vandal round in The Range, you need to understand how Riot Games’ movement error penalty interacts with peekers’ advantage. When you incorporate intentional movement mechanics into your daily Valorant aim routine, 80% of your kills require less than two millimeters of mouse or thumbstick adjustment.
- Wide vs. Tight Angle Pre-Aiming: When holding a common choke point like Ascent A-Main or Bind Showers, never glue your reticle directly to the corner wall edge. Place your crosshair roughly 1.5 character widths off the wall to account for your own 180ms human visual reaction time when an enemy wide-swings at full knife-run speed.
- Elevation Head-Level Anchors: Map geometry across Haven, Sunset, and Abyss contains subtle elevation changes. Use environmental markers—such as radianite crate seams, wall trim lines, and doorframe bolts—as permanent visual anchors so your reticle never drifts toward chest level while rotating.
- The Two-Bullet Burst Discipline: Committing to a crouched ten-bullet spray the instant you spot an opponent makes you a stationary target. Train your index finger to fire strictly two-bullet Vandal taps followed by an immediate lateral counter-strafe.
2. The 15-Minute Radiant Range & Deathmatch Warm-Up Protocol
Consistency comes from structured repetition under movement pressure rather than chasing high scoreboard numbers on Hard bots. Execute this four-phase Valorant aim routine every session before queuing your first ranked match:
| Warm-Up Phase | Duration | Weapon & Mode Setting | Mechanical Training Objective |
|---|---|---|---|
| Phase 1: Smooth Tracking | 3 Minutes | Ghost / Practice Bots (Strafe On) | Keep your reticle locked on a moving bot’s head while strafing left and right without firing |
| Phase 2: Deadzone Tapping | 4 Minutes | Vandal / Eliminate 50 (Armor On) | Never stop tapping A and D; fire exactly one bullet at the exact millisecond your direction reverses |
| Phase 3: Micro-Flick Speed | 3 Minutes | Sheriff / Medium Bots (Armor On) | Return to the center pillar after every kill and execute clean single-smooth-motion headshots |
| Phase 4: Silent DM Clearing | 5 Minutes | Guardian Only / Live Deathmatch | Slice every common site angle using only A/D keys without holding W or crouch-spraying |
3. Optimal PC eDPI & Console Focus Curve Settings by Role
Even the most disciplined Valorant aim routine will fail if your hardware sensitivity causes micro-jitters when tracking strafing Jett or Neon players. Compare your current configuration against these tournament-proven benchmarks:
| Agent Role & Input | Recommended PC eDPI | 800 DPI Sens / 1600 DPI Sens | Console Base / Focus Mode Curve |
|---|---|---|---|
| Entry Duelist (Jett / Raze / Neon) | 260 – 320 eDPI | 0.35 / 0.175 | 8 Horizontal / 6 Vertical (Light Curve) |
| Flex Initiator (Sova / Fade / Gekko) | 220 – 260 eDPI | 0.30 / 0.150 | 7 Horizontal / 5 Vertical (Medium Curve) |
| Controller Anchor (Omen / Clove) | 190 – 230 eDPI | 0.26 / 0.130 | 6 Horizontal / 5 Vertical (Standard Curve) |
| Sentinel & Operator (Chamber / Cypher) | 160 – 200 eDPI | 0.22 / 0.110 | 5 Horizontal / 4 Vertical (Heavy Focus Curve) |
🔥 ALSO READ ON ESPORTPORT: Valorant Agent Tier List 2026: Best Duelists, Controllers & Map Picks
4. 💡 Pro Tip: Mastering the Single-Bullet Deadzone Strafe Timing
To verify whether your counter-strafe timing is truly frame-perfect during your Valorant aim routine, navigate to Settings > Video > Stats and turn on the Shooting Error graph (set to Graph Only). Whenever you tap A and D and fire at the exact inflection point where your agent changes direction, the graph bar should remain completely orange with zero blue movement-error spikes. Pair this visual telemetry with the latest patch notes on the Official Valorant Competitive Portal so you never lose a 50/50 opening duel to movement inaccuracy.