
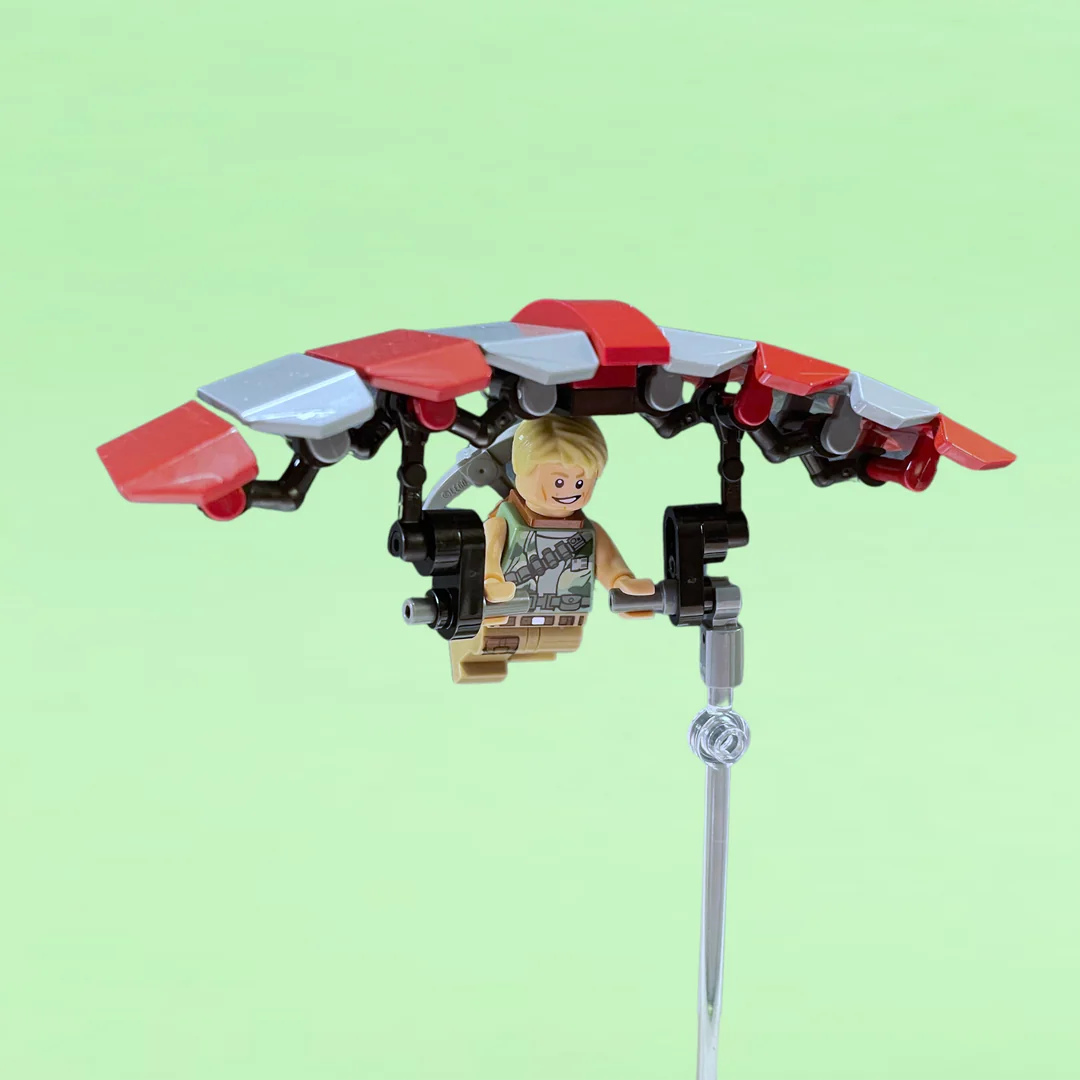
The Ultimate Guide to Crafting the Glider Tool in LEGO Fortnite
The Glider tool in LEGO Fortnite is a game-change your players as it brings a whole new level of mobility and strategy to the game. Not only does it help you traverse the map with ease, but it also gives you an advantage in battles, enabling you to execute surprise attacks or make a quick escape when things go south. In this comprehensive guide, we’ll cover everything you need to know about crafting your very own glider tool. Let’s get started!
Upgrade your Crafting Bench early in the game: Your Crafting Bench is arguably the most important station in LEGO Fortnite. Due to this, you should upgrade it as soon as possible. Not only will you get access to a Glider, but you’ll also be much stronger with upgraded weapons and health.
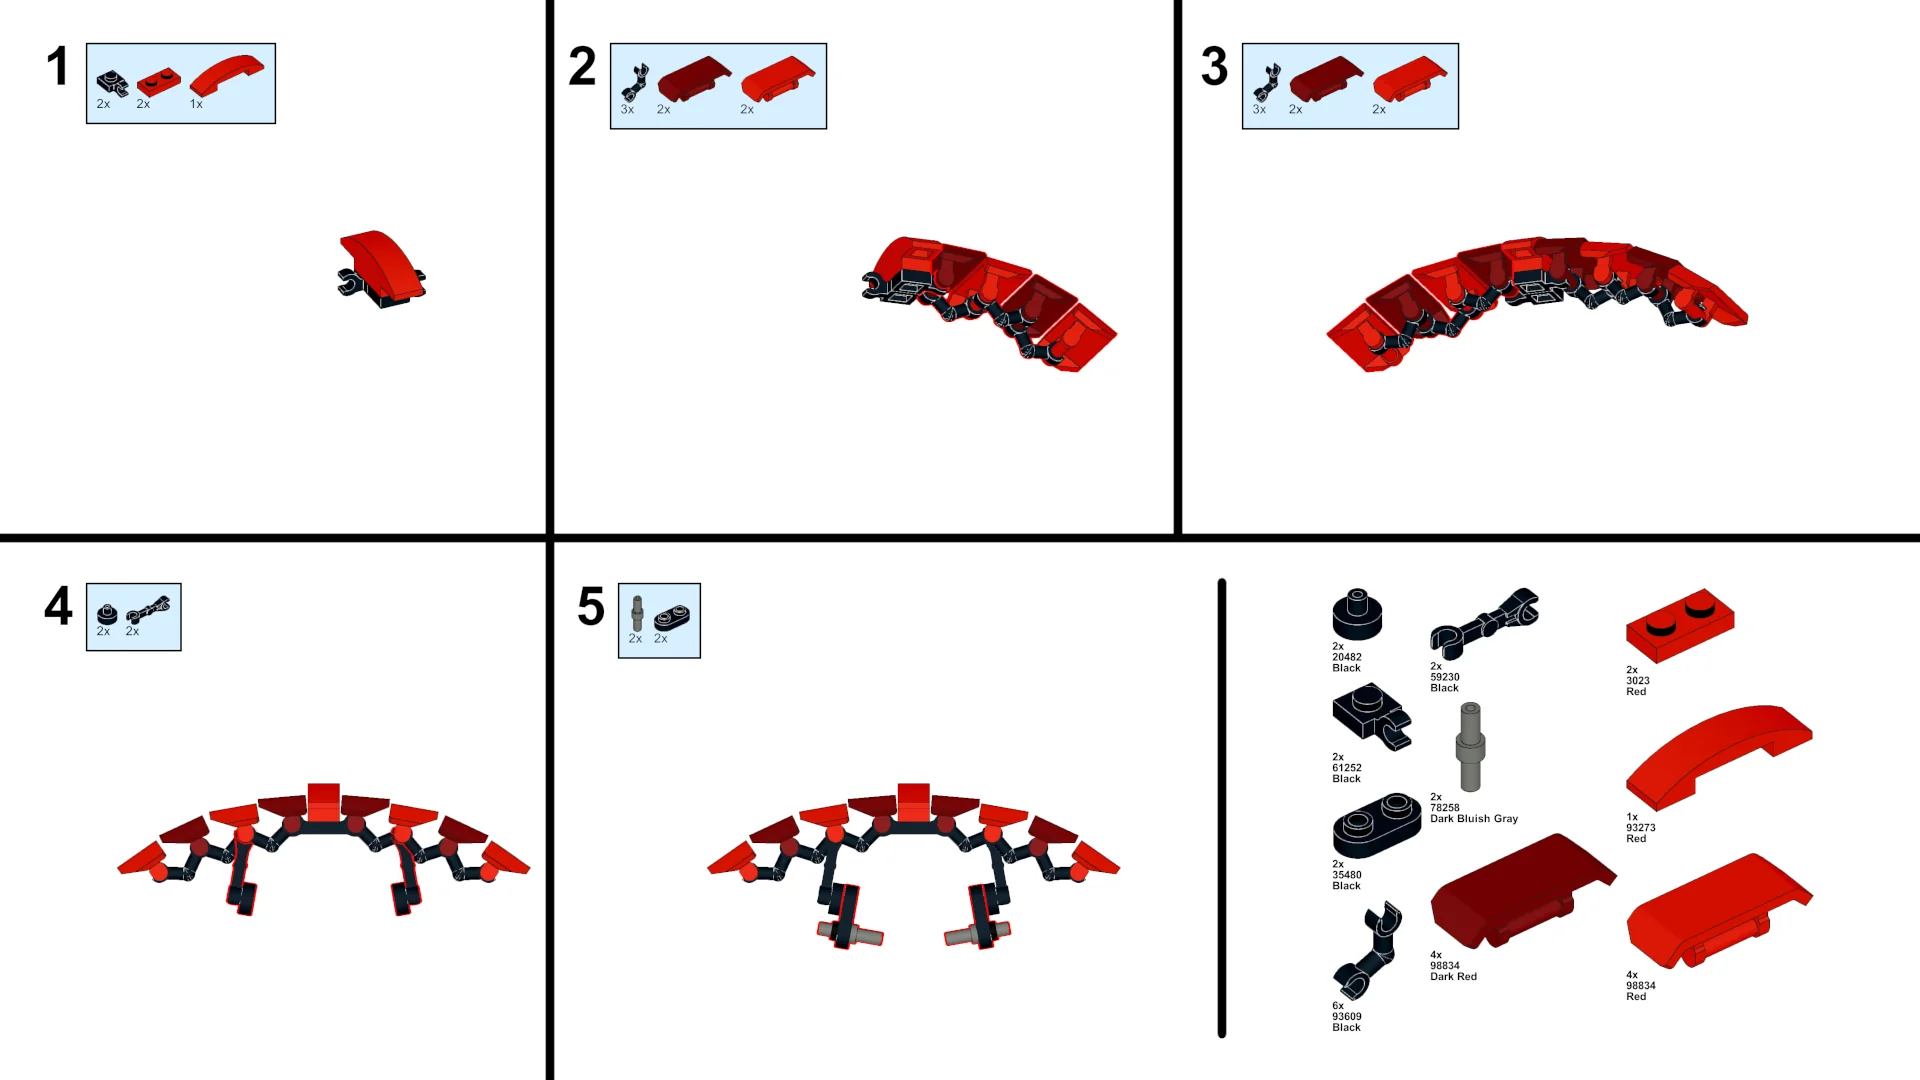
Step 1: Identifying the required LEGO pieces and their quantities
Before you can start crafting your glider, you’ll need to gather the following ingredients:
To create your LEGO Fortnite glider, you will need the following pieces:
- 8x Flexwood Rods – These will be used for creating the wings and stabilizers.
- 6x Silk Fabric – These will be used for the wing structures and the parachute.
- 4x Wool Fabric – These will be used for the cockpit seat and harnesses.
- 1x 6×1 Craft Plate – This will serve as the base for connecting the wings and cockpit.
- 2x 1×2 Swivel Hinges – These will allow the wings to rotate and adjust to different angles.
- 1x 1×4 Bar – This will be used as the handle for the LEGO minifigure to hold onto while gliding.
Step 2: Assembling the wing structure
- Take two Flexwood Rods and attach them to the 6×1 Craft Plate, one on each side.
- Attach another two Flexwood Rods to the ends of the first two Flexwood Rods to form a V shape. These will be the main wings of the glider.
Step 3: Attaching the Silk Fabric to the wing structure
- Cut two pieces of Silk Fabric to fit the size of the wings. Attach them to the wing structure using small pieces of Flexwood Rods as the anchor points.
Step 4: Adding stabilizers
- Attach two Swivel Hinges to the back of the 6×1 Craft Plate.
- Attach the remaining two Flexwood Rods to the Swivel Hinges to form a small V shape. These will be the stabilizers/vertical fins.
- Cut two small pieces of Silk Fabric to fit the stabilizers. Attach the fabric just like you did with the wings.
Step 5: Building the cockpit
- Take a Wool Fabric piece and fold it to form a triangle, which will be the seat for the cockpit.
- Attach the 1×4 Bar to the center of the 6×1 Craft Plate on the underside.
- Attach the folded Wool Fabric seat to the 1×4 Bar. This will be the harness for the LEGO minifigure to sit on while gliding.
Step 6: Customizing the glider
You can customize the glider by using different colors of fabric and swapping out Flexwood Rods with different LEGO Technic pieces or bars. Add decals, stickers, or other LEGO accessories to personalize the glider further.
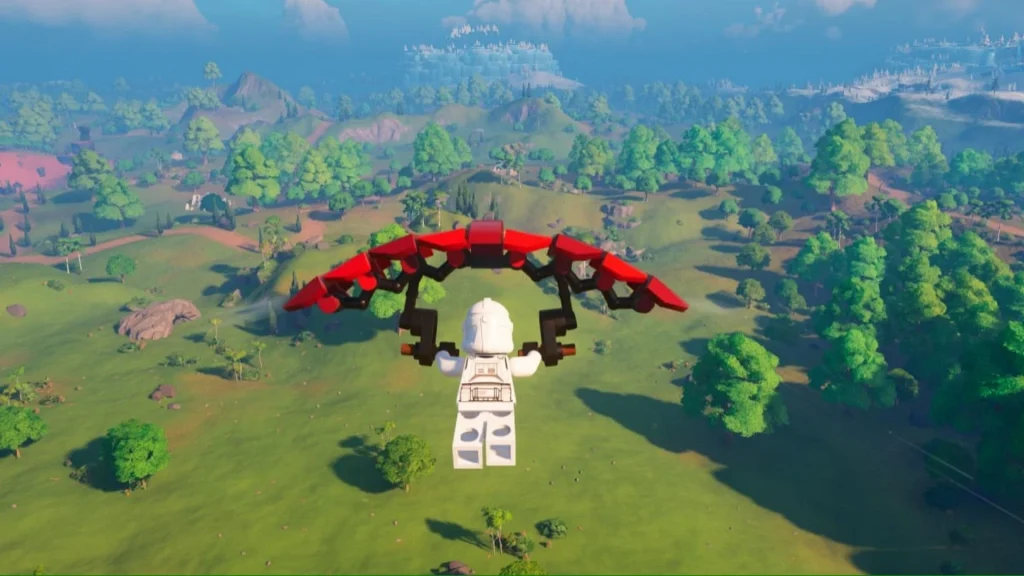
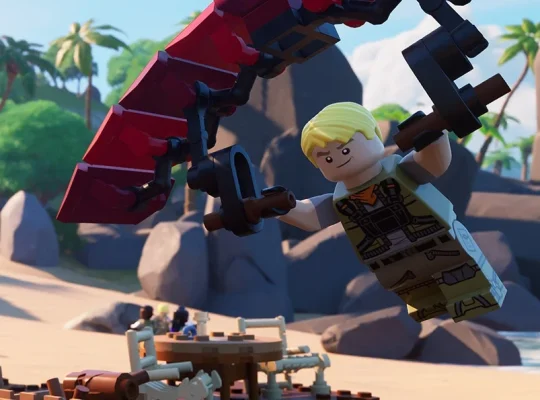
And there you have it! Your very own LEGO Fortnite glider. All you need to do now is attach your minifigure to the harness, and they’re ready to glide down from mountains and hills on their adventures! Be sure to ensure there’s enough stamina for your LEGO minifigure to reach its

