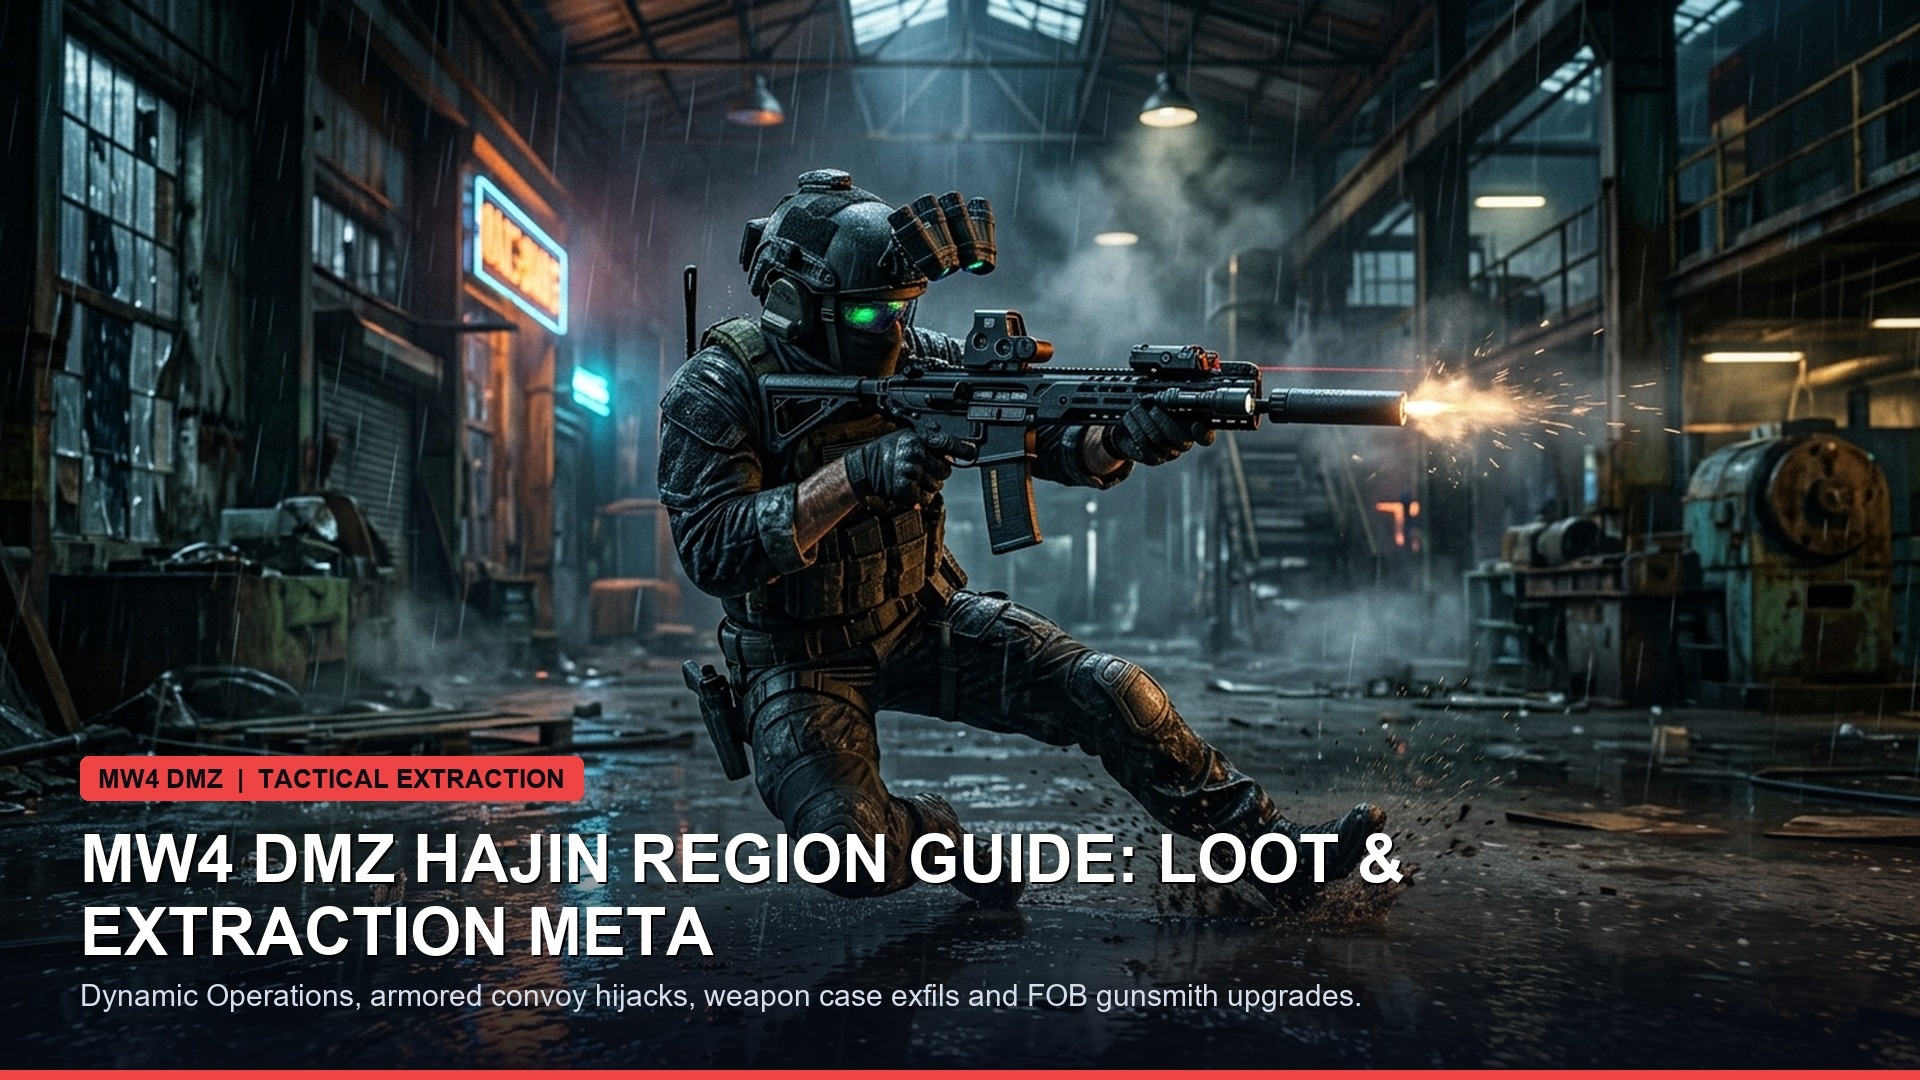
Tactical Extraction Field Manual: Infiltrating Mirae General Hospital
The expansion of the DMZ extraction mode into Call of Duty: Modern Warfare 4 has introduced some of the most punishing and lucrative high-tier faction objectives to date. At the pinnacle of BlackCell and Shadow Company operations sits Operation Critical Extraction—a multi-stage Tier 5 infiltration task taking place within the labyrinthine corridors of the abandoned Mirae General Hospital complex. Involving heavily armored Konni bio-commandos, encrypted research servers, concealed executive keycard spawns, and fiercely contested exfil zones, surviving this mission requires surgical preparation. Paired with proper omnimovement sprint-out tuning and our verified tactical audio equalizer profiles, this guide outlines the optimal deployment routes, cipher codes, and combat tactics to extract alive.
Mission Objectives & Pre-Deployment Loadout Selection
Before dropping into the contested deployment zone, squad leaders must ensure that all team members have slotted the mandatory mission parameters and loadout attachments:
Operation Critical Extraction: Primary Directives
- Infiltrate the Mirae General Hospital complex and breach the Sub-Basement Bio-Containment Wing.
- Locate and secure the Mirae Director’s Cipher Keycard from the 4th-floor administrative suite.
- Hack and decrypt the Central Research Terminal while surviving a 3-minute timed lockdown alarm.
- Extract the Encrypted Bio-Data Drive via the designated Rooftop Emergency Helipad without squad elimination.
Recommended Tactical Loadout:
Due to the intense close-quarters combat inside narrow medical wards combined with long sightlines in the central atrium, squads should balance their armaments. At least one operator must equip a suppressed 100-round light machine gun (such as the TAQ-Eradicator or Holger 26) with armor-piercing ammunition to neutralize Tier 3 armored riot-shield guards. The point-man should run an aggressive submachine gun tuned for rapid sprint-to-fire speed, while the anchor carries a high-magnification thermal sniper rifle to counter rooftop exfil campers. Smoke grenades, Munitions Boxes, and Trophy Systems are strictly mandatory.

Navigating Mirae Hospital: Sector Layout & Threat Vectors
Mirae General Hospital is divided into five vertical operational tiers, each presenting distinct environmental hazards and AI enemy density:
Step-by-Step Tactical Walkthrough
Phase 1: Infiltration & Executive Suite Breach
Avoid entering through the main glass entrance doors on the ground floor; this area is a pre-sighted killbox zeroed by Konni heavy machine gun emplacements. Instead, approach from the western emergency fire stairs or use a grappling hook / elevator cable on the northern exterior. Advance directly to the 4th-floor Executive Suite.
The Director’s Suite is locked behind an electronic keypad. To bypass it without triggering immediate reinforcement waves, locate the secondary maintenance log inside room 402. The safe combination rotates every match but consistently follows a three-number sequence tied to the serial number on the wall-mounted defibrillator box. Grab the Director’s Cipher Keycard and restock armor plates before descending.
Phase 2: Sub-Basement Infiltration & Juggernaut Elimination
Take the central freight elevator shaft directly down to level B2. The Sub-Basement Bio-Lab is shrouded in heavy tear gas and intermittent emergency lighting. All squad members must equip Gas Masks or Durables. Inside the central containment chamber patrols a Konni Bio-Juggernaut armed with a modified Minigun.
Do not trade damage out in the open. Use the concrete laboratory decontamination stalls for cover. One operator should deploy an EMP grenade or Stun Grenade to disable the Juggernaut’s tracking systems for 4 seconds, allowing the remaining two teammates to dump armor-piercing LMG rounds directly into the headplate. Once the boss collapses, interact with the primary server rack using the Director’s Keycard to initiate the decryption download.
Phase 3: Surviving the 3-Minute Lockdown & Extraction
Initiating the server download triggers a hospital-wide red alert. Heavy reinforcement helicopters will deploy fast-roping Shadow Company contractors while automated gas traps activate across the lower stairwells. Deploy your Trophy Systems immediately inside the server control room to intercept incoming drill charges and frag grenades.
Once the Encrypted Bio-Data Drive reaches 100% transfer, the internal elevators unlock. Ride the express hoist directly to the rooftop helipad. Call the extraction helicopter immediately. Beware of rival human squads who often camp the opposite communications radio tower. Pop thermal smoke screens across the ramp of the chopper and enter backward to provide covering fire until the extraction timer expires.

Advanced Extraction Protocols & Emergency Backup Plans
Experienced DMZ operators understand that Murphy’s Law governs every extraction attempt. If the primary rooftop helipad becomes compromised by a four-man enemy player squad armed with thermals and Javelin launchers, trying to force your way onto the ramp will result in squad elimination. Fortunately, Mirae General Hospital features two undocumented clandestine egress vectors:
The Subterranean Storm Drainage Route: Beneath level B2’s morgue lies a submerged storm drain leading directly into the adjacent riverbed. By equipping a Rebreather tactical item, squads can swim through the drainage conduit, emerging 300 meters downriver where an armored patrol boat or personal watercraft can be commandeered for a quiet low-profile escape.
Hostage Rescue Contract Bypass: If the public extraction timer has expired and the radiation cloud is expanding across Mirae Hospital, savvy squads should trigger a secondary Hostage Rescue contract in the neighboring residential sector. Successfully extracting the hostage spawns a dedicated private extraction chopper that leaves immediately upon boarding, completely bypassing campers waiting at standard exfil zones.
Contraband Stash Management & Five-Star Weapon Blueprints
Successfully completing Operation Critical Extraction unlocks permanent account-wide perks inside your forward operating base (FOB). The Encrypted Bio-Data Drive can be turned into the Shadow Company faction liaison to unlock the “Bio-Hazardous Response” weapon blueprint for the MCW assault rifle, featuring integrated thermal optic tracking and high-velocity armor-piercing rounds.
Furthermore, extracting with the drive permanently reduces your insured weapon cooldown timer by 45 minutes, significantly accelerating your squad’s progression toward unlocking all three insured weapon slots. Always ensure your contraband stash is pruned before loading into Mirae Hospital so you have ample capacity to store extracted gold bars, GPU servers, and five-star blueprint weapons.
Night-Vision Infiltration & Thermal Optic Mastery
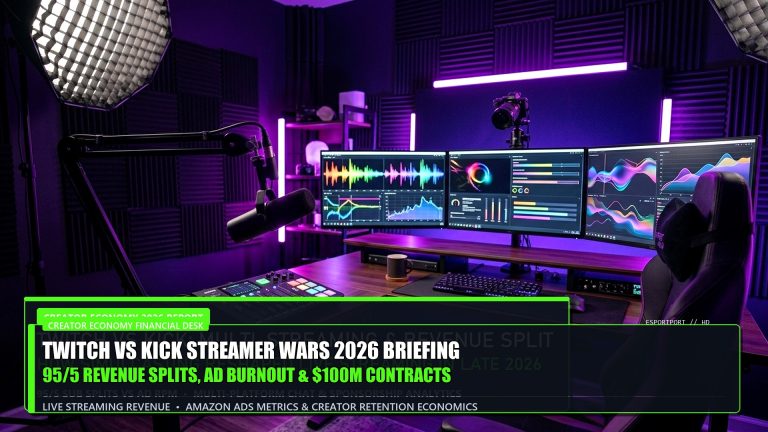
Operating inside the subterranean hospital complex requires mastering low-light engagement tactics. Certain medical laboratory corridors have completely lost primary electrical power, plunging rooms into pitch-black darkness where enemy Konni sentries utilize flashlight beams to sweep for intruders. Equipping dedicated dual-tube night vision goggles (NVG) allows your squad to spot tripwire laser traps and claymore mines planted along doorways.
However, remember that aiming down sights (ADS) with standard optics under night vision activates visible infrared laser beams that alert observant enemy players to your exact angle of approach. To counteract this vulnerability, slot thermal hybrid sights like the SZ Holotherm or the Teplo-OP3 Scope, which allow pinpoint target acquisition through smoke grenades and gas clouds without emitting revealing IR laser signatures. Maintaining trigger discipline and coordinating synchronized headshots ensures your team clears entire surgical wings without breaking stealth.
Pro DMZ Tips: Avoiding Fatal Mistakes
- Killstreak Storage: Carry at least two Mortar Strikes or Precision Airstrikes to blanket the rooftop helipad when competing player squads push your extraction chopper.
- Radiation Timing: If the radiation circle expands near Mirae Hospital early, prioritize extracting via personal buy-station Exfil flare rather than waiting for the public helicopter.
- Keycard Reuse: The Director’s Cipher Keycard carries 3 charges. Do not discard it upon extraction; storing it in your stash enables rapid repeat runs to farm five-star weapon cases.
Related posts:
 All Trick r’ Treat Candy Hunt Event Rewards in MW3 and Warzone (And How to Farm Them Fast)
 Call of Duty: Black Ops 6 Season 1 & Fortnite Chapter 2 Remix Pro Guide: Area 99 Loadouts, XM4 Gunfighter Builds & Zero-Build Rotations
 Warzone Season 1 Instant ADS Sensitivity & Aim Hacks: Best Controller Tweaks After Nov 10 Patch
 Call of Duty Warzone Nov 12 Patch Analysis: Smoke Aim-Assist Removal & Black Ops 7 M10 Breacher Meta Breakdown