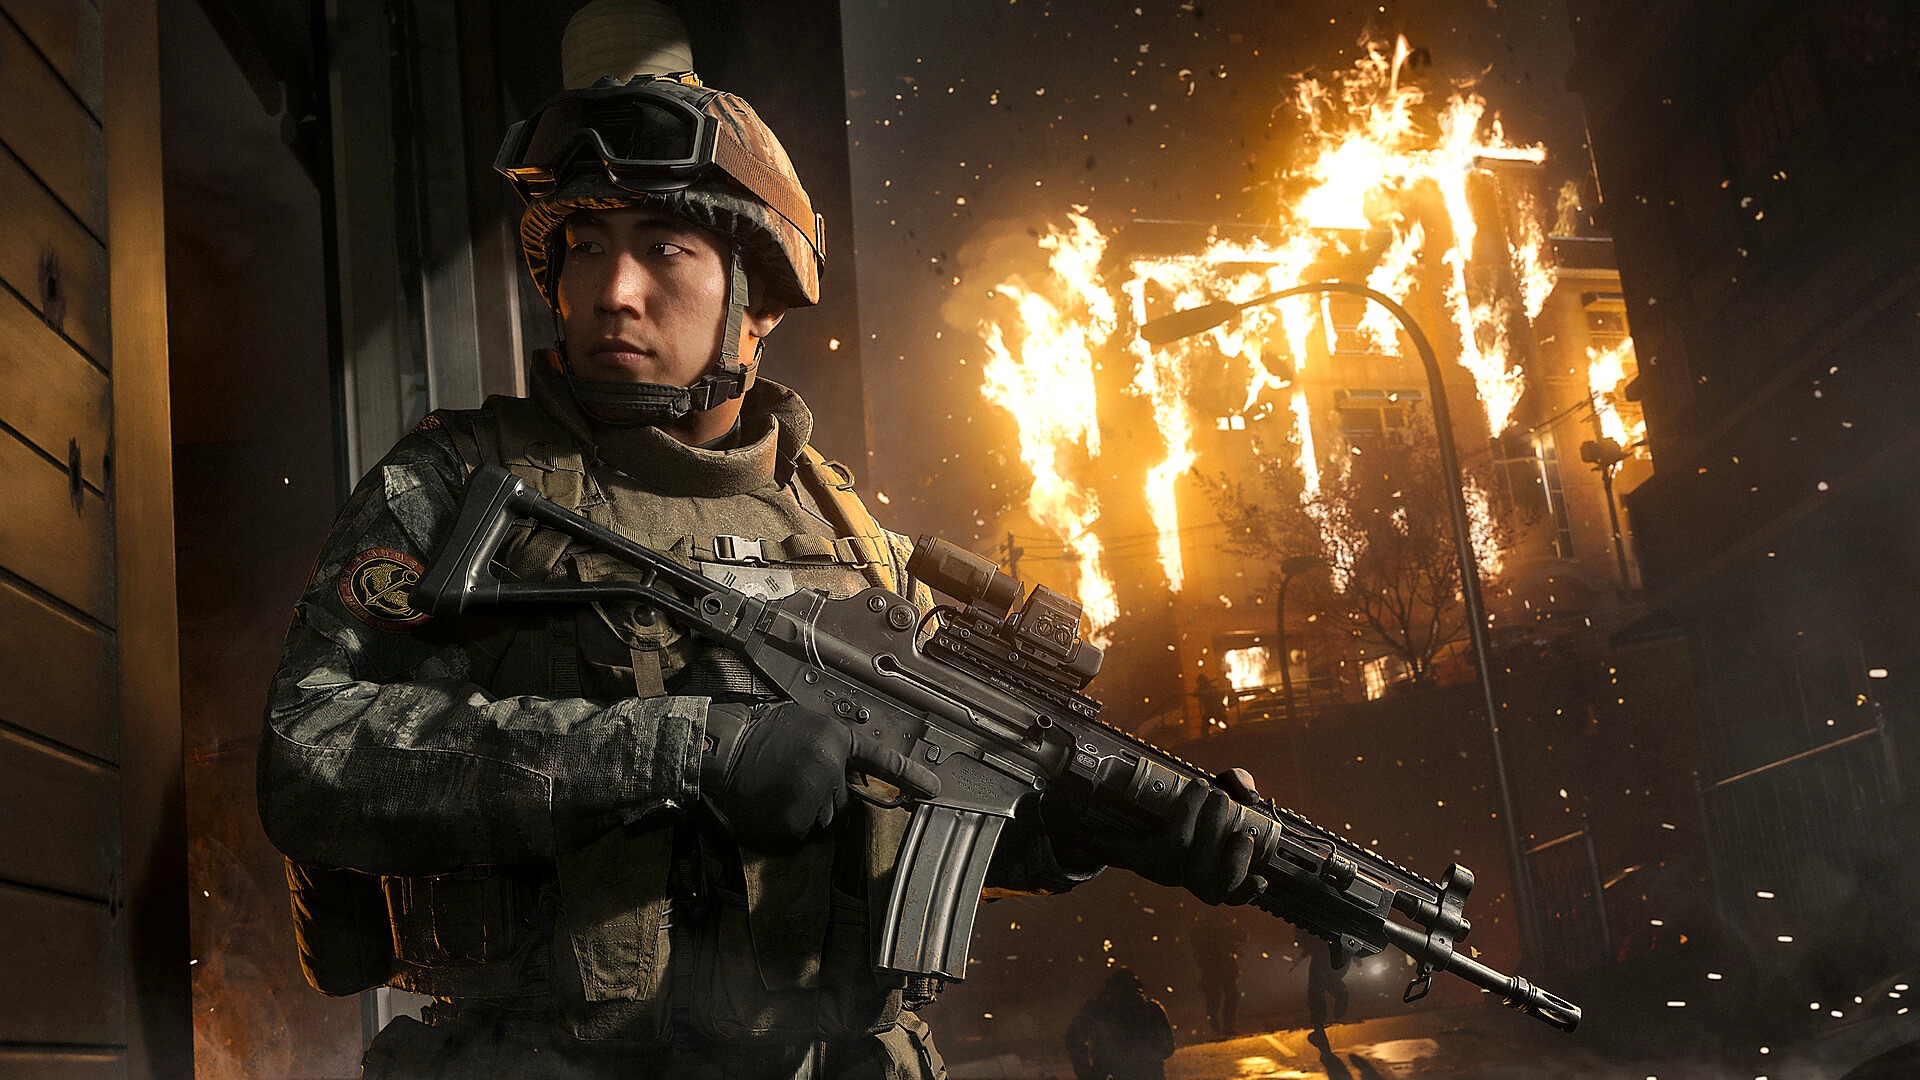
With the integration of Black Ops 6 mechanics into the battle royale ecosystem, Call of Duty: Warzone Season 1 has established an electrifying high-speed meta across Urzikstan, Rebirth Island, and Area 99. Arriving alongside massive gaming milestones spotlighted in our analysis on GTA 6 storage benchmarks and SSD decryption times and early campaign walkthoughs in our GTA 6 first mission guide and prologue walkthrough, competitive Warzone lobbies demand ruthless loadout efficiency. Omnimovement mechanics allow players to sprint, slide, and dive in any 360-degree direction, making close-quarters time-to-kill (TTK) and sniper headshot velocity the deciding factors in every engagement. Below, our tactical FPS analysts break down Call of Duty Warzone Season 1 Resurgence Meta: Best SMG & Sniper Loadouts, TTK Stats & Perk Setups.
1. Resurgence Meta Weapon Tier List & TTK Matrix
Below is the audited time-to-kill and effective range breakdown for top-tier Resurgence weapons within a 300 HP armored player model:
| Firearm & Category | Meta Tier Placement | Close-Range TTK (0-12m) | Mid-Range TTK (13-30m) | Muzzle Velocity (m/s) | Handling & ADS Speed |
|---|---|---|---|---|---|
| Jackal PDW (Submachine Gun) | S-Tier (Absolute Meta) | 532 Milliseconds | 680 Milliseconds | 580 m/s | 185ms ADS (Lightning Fast) |
| Tanto .22 (Submachine Gun) | S-Tier (Long-Range SMG) | 560 Milliseconds | 620 Milliseconds | 640 m/s | 195ms ADS (Extreme Precision) |
| Model L (Assault Rifle) | A-Tier (Laser Beam AR) | 620 Milliseconds | 690 Milliseconds | 840 m/s | 230ms ADS (Minimal Recoil) |
| LR 7.62 (Bolt-Action Sniper) | S-Tier (One-Shot Sniper) | Instant (300 Headshot) | Instant (300 Headshot) | 1,050 m/s (Hitscan Feel) | 460ms ADS (Aggressive Sniping) |
| Krig C (Assault Rifle) | A-Tier (Mid-Range Flex) | 610 Milliseconds | 710 Milliseconds | 810 m/s | 225ms ADS (High Headshot Multi) |
2. S-Tier Jackal PDW Build: Dominating Close-Quarters Omnimovement
The Jackal PDW remains the undisputed king of Resurgence close-range combat. Possessing an unmatched 532ms base TTK up to 12 meters, this submachine gun complements aggressive slide-canceling and backwards-diving gunfights inside stairwells and tight apartment corridors. To extract maximum potential, equip these audited attachments:
| Weapon Slot | Equipped Attachment | Primary Tactical Benefit |
|---|---|---|
| Muzzle | Compensator | Reduces vertical recoil kick by 18% during sustained hip-to-ADS sprays |
| Barrel | Long Barrel | Extends maximum damage range by 15% and increases bullet velocity |
| Underbarrel | Ranger Foregrip | Accelerates sprint-to-fire speed by 12% and enhances horizontal recoil control |
| Magazine | Extended Mag II (50 Rounds) | Provides sustained ammunition capacity to wipe full 4-man squads without reloading |
| Rear Grip | Ergonomic Grip | Drastically boosts slide-to-fire transition and dive recovery speeds |
Pairing this class with the Gung-Ho tactical perk allows players to reload while maintaining full tactical sprint velocity, ensuring you never get caught vulnerable while re-chambering rounds between consecutive squad engagements.
3. S-Tier LR 7.62: The Definitive One-Shot Sniper Setup
With Resurgence rooftops frequently contested by aggressive DMR spam, the LR 7.62 bolt-action sniper rifle provides the ultimate stopping power. Unlike heavy anti-materiel rifles that suffer from sluggish handling, the LR 7.62 delivers a true one-shot headshot elimination against fully plated opponents at any distance while maintaining crisp 460ms ADS speeds.
| Weapon Slot | Equipped Attachment | Ballistic Performance Impact |
|---|---|---|
| Muzzle | Monolithic Suppressor | Conceals radar ping on firing and increases effective damage range by 10% |
| Barrel | Reinforced Heavy Barrel | Maximizes muzzle velocity to 1,050 m/s, virtually eliminating bullet lead under 150m |
| Laser | FSS OLE-V Laser | Reduces ADS time by 45ms and stabilizes idle aiming sway |
| Ammunition | High Grain Rounds | Flat 15% velocity increase to secure consistent long-range hit registration |
| Bolt | Fast Bolt | Accelerates rechambering cycle by 20% for rapid follow-up shots on downed targets |
Equipping this build allows aggressive marksmen to counter rooftop campers on Rebirth Island’s Prison compound, cracking armor plates and wiping squads before they can retreat behind parapet cover.
4. The Resurgence Specialty Perk Package (Enforcer Synergies)
The updated Black Ops 6 combat specialty system rewards players who equip three perks from the same tactical category. For Resurgence, activating the Enforcer Specialty (Red Perk Group) provides a temporary movement speed surge and immediate health regeneration upon scoring any kill:
| Perk Slot | Selected Perk | In-Game Combat Synergy |
|---|---|---|
| Perk 1 | Scavenger / Dexterity | Replenishes armor plates and ammo from fallen foes; eliminates mantle penalties |
| Perk 2 | Quick Fix / Tracker | Instantly triggers health regeneration upon securing a kill or inserting an armor plate |
| Perk 3 | Ghost / Double Time | Doubles tactical sprint duration and provides immunity to enemy UAV radar sweeps |
| Specialty Bonus | Enforcer Combat Synergy | Grants 10% movement speed boost and instant HP recovery for 4 seconds after every kill |
This perk package allows aggressive solo-queue players to challenge multiple opponents in quick succession, chaining health regeneration procs to survive intense third-party ambushes inside final circles.


5. Secondary Firearm Synergy: Pocket Shotguns and Fast-Draw Pistols
While having an S-Tier submachine gun like the Jackal PDW guarantees close-range dominance, sniper specialists requiring an instantaneous backup weapon should pair their LR 7.62 with a fast-draw sidearm or compact shotgun:
| Sidearm Weapon | Weapon Class | Swap Speed (Fast-Draw) | Point-Blank Damage Profile |
|---|---|---|---|
| Marine SP (Compact Shotgun) | Pump-Action Shotgun | 210ms Draw Time | 220 Damage (Two-Pump Knockdown under 5m) |
| GS45 (Heavy Pistol) | Semi-Auto Handgun | 140ms Draw Time | 85 Headshot Damage (3-Shot Down under 10m) |
| 9mm PM (Fast-Draw Pistol) | Tactical Pistol | 120ms Draw Time | Rapid-fire burst with 30-round extended drum |
The Marine SP equipped with the Sawed-Off Barrel and Ergonomic Stock allows sniper players to defend cramped stairwells on Rebirth Island. When an aggressive enemy rushes your rooftop position, swapping to the Marine SP delivers devastating hip-fire stopping power that shreds armor plates in a single trigger pull.
6. Omnimovement Controller Keybinds and Tactical Sensitivity Settings
Mastering Omnimovement in Warzone Season 1 requires calibrating your controller deadzones and response curves to eliminate mechanical sluggishness. Configure your settings menu according to these verified professional player standards:
| Controller Parameter | Recommended Pro Setting | Mechanical In-Game Advantage |
|---|---|---|
| Button Layout Preset | Tactical / Bumper Jumper Tactical | Maps slide/crouch to Right Stick click; enables fluid 360-degree dives |
| Aim Response Curve Type | Dynamic | Provides fine micro-adjustment precision during mid-range sniper tracking |
| Left Stick Minimum Deadzone | 0.02 – 0.04 Value | Instant sprint initiation without thumbstick travel delay |
| Right Stick Minimum Deadzone | 0.03 – 0.05 Value | Eliminates stick drift while ensuring instantaneous crosshair response |
| Automatic Sprint Setting | Automatic Tactical Sprint | Instantly engages maximum velocity on thumbstick tilt; saves controller wear |
Enabling Automatic Tactical Sprint combined with the Dynamic Aim Response curve allows you to fluidly dive backwards while keeping your crosshair locked onto your opponent’s upper chest, transforming Omnimovement from a gimmick into a lethal offensive weapon.
7. Tactical Equipment Synergy: Smoke Grenades and Semtex Traps
Utility selection separates amateur squads from tournament champions in fast-paced Resurgence lobbies. Always carry Smoke Grenades in your tactical slot; deploying a smoke screen breaks visual aim-assist lock for opposing controller players and allows you to revive downed teammates in wide-open courtyards without getting picked off by distant snipers. In your lethal slot, Semtex Grenades provide instantaneous sticky detonation against players hiding behind deployable shields or doorway corners, cracking armor plates before you execute a dynamic Omnimovement slide breach.

8. High-Ground Rotation Strategies on Rebirth Island
Winning matches consistently on Rebirth Island requires rotating early to power positions before the gas circle collapses. Control the Water Tower and Headquarters roof early in the match, using your LR 7.62 sniper rifle to gatekeep squads rotating out of Chemical Engineering and Living Quarters. Never stay pinned in low-lying shorelines during Phase 4 contractions.
Conclusion
Warzone Season 1 Resurgence rewards mechanical aggression, dynamic Omnimovement mastery, and meticulously min-maxed ballistic loadouts. By pairing the blisteringly fast 532ms time-to-kill of the Jackal PDW with the lethal one-shot precision of the LR 7.62 bolt-action sniper rifle, tactical smoke utility, and the health-regenerating Enforcer perk suite, players possess the ultimate competitive arsenal to dominate Urzikstan, Area 99, and Rebirth Island. Drop in, secure your loadout drop early, and claim your victory.
Related posts:
 GTA Online 2.0 Multiplayer Warmup: GTA+ Benefits, Character Migration Rules & Day-One Syndicate Roadmap
 Call of Duty Black Ops 6 Season 1 Weapon Meta Tier List: TTK Stats, Secret Attachments & Warzone Tuning
 GTA 6 Rumors vs Reality Audit: Map Expansions, Cut Content, Carcer City Easter Eggs & Bizarre Day-One Physics Bugs
 S.T.A.L.K.E.R. 2 Heart of Chornobyl Technical Review: Fixing Unreal Engine 5 Stuttering, Shaders, and A-Life 2.0 Glitches