With the launch of Season 1 in Call of Duty: Warzone, Treyarch and Raven Software have officially deployed Area 99, the brand-new government weapons testing facility designed from the ground up to embody the iconic history of Nuketown. As the premier Resurgence battleground, Area 99 features relentless vertical gunfights, tight interior choke points, and high-stakes bunker secrets.
Surviving the frantic initial drop and holding power positions requires intimate knowledge of high-tier loot spawns, subterranean bunker keycards, and high-speed rotation corridors. To optimize your weapon builds for this map, ensure you review our Black Ops 6 Season 1 Meta Loadout Guide.
1. Top Tier Drop Spots: High Loot Density & Tactical Advantages
Area 99 is divided into ten distinct named Points of Interest (POIs). The absolute hottest drop on the map is Pod and Reactor, located centrally. These POIs feature multiple orange high-tier supply boxes, guaranteed Buy Stations, and instant access to UAV killstreaks, allowing aggressive squads to stack kills early.
For squads seeking a more calculated, tactical start, landing at Mannequin Assembly or Bunker on the eastern perimeter provides ample armor satchels, ground-loot Model L rifles, and clean rotation routes into high ground without getting pinched from multiple angles.
Warzone Area 99 POI Loot Density & Tactical Rating Matrix
| Point of Interest (POI) | Loot Density | Buy Station Spawn Rate | Verticality / Height | Hot Drop Danger Level | Tactical Recommendation |
|---|---|---|---|---|---|
| Reactor (Central) | Very High (Tier 3) | 100% Guaranteed | 3-Story High Ground | Extreme (3-4 Teams) | Aggressive Slayers Only |
| Pod Assembly | High (Tier 2) | 85% Spawn | Flat Interior Warehouses | Moderate (1-2 Teams) | Fast SMG Looting Route |
| The Bunker (East) | Ultra High (Secret Vault) | 75% Spawn | Subterranean Complex | Low – Moderate | Keycard Puzzle Looting |
| Cooling Towers (North) | Medium (Tier 1) | 60% Spawn | Sniper Towers | Low (Safe Drop) | Safe Regain / Gulag Re-entry |
Bunker Keycards, Security Codes & The Secret Mannequin Vault
Area 99 houses the deepest layer of interactive environmental secrets seen in Call of Duty: Warzone since the original Verdansk stadium easter eggs. Scattered throughout the industrial testing facility are three electronic security keycards (Red, Blue, and Gold) that spawn in fixed administrative offices within Pod Assembly and Warehouse.
Inserting the Gold Keycard into the subterranean access console beneath The Bunker unlocks the blast-door vault. Inside, squads are rewarded with four guaranteed gold legendary supply crates, a free Specialist Bonus perk package (granting all 30 multiplayer perks simultaneously), and $25,000 in cash.
Additionally, triggering the classic Nuketown easter egg by shooting the heads off all thirty mannequins within the opening three minutes of the match causes the central testing siren to wail, dropping an air-strike care package containing an exclusive animated weapon blueprint and advanced UAV sweeps.
High-Ground Dominance: Cooling Towers & Factory Roof Rotations
Mastering verticality is the secret to high-kill games on Area 99. The Cooling Towers on the northern boundary offer panoramic sniper sightlines covering 70% of the playable map. Equipped with the LR 7.62 one-shot sniper rifle, an anchor player can pin down rotating teams across the river canal while teammates clean up downed enemies below.
However, holding rooftops requires disciplined defensive utility. Always plant Trophy Systems near ascending zip-line hooks to neutralize incoming Cluster Strikes and Mortar Barrages. Setting Claymores or Proximity Mines on ladder entryways prevents aggressive omnimovement flankers from surprising your squad from behind.
Late-Game Gas Play & Final Circle Rotation Strategy
Because Area 99 features tight interior corridors and multi-level industrial complexes, the final circle collapse is extraordinarily chaotic. To consistently claim Resurgence victories, squads must hoard Durable Gas Masks and P.A.W.S. (Portable Armor Wrapping Stations) heading into the fifth circle.
When the gas pulls toward open terrain, utilize the underground drainage canals to flank beneath opposing gatekeepers. Popping a Smoke Airdrop onto the final safe zone provides complete visual cover, allowing your squad to execute coordinated omnimovement slides into power positions to wipe the final remaining teams.
Industrial Audio Equalization: Pinpointing Footsteps Through Steel Walls
Because Area 99 features corrugated metal catwalks, concrete bunker stairwells, and hollow tin roofs, footstep audio cues differ significantly from Urzikstan’s open grass and stone surfaces. To achieve competitive audio clarity, navigate to Warzone’s audio settings and set the Master Volume to 80% while elevating the “Dialogue and Effects” volume.

Under the Sound EQ tab, select “Headphone Bass Boost” or utilize third-party PC equalization tools like Dolby Atmos for Headphones to amplify frequencies between 100Hz and 250Hz. This specific acoustic calibration makes sprinting enemies sound like heavy thuds on metal grating, allowing you to pre-aim doorway sightlines before opponents round the corner.
Weapon Tier Loadouts: The Best Primary & Secondary Pairings for Area 99
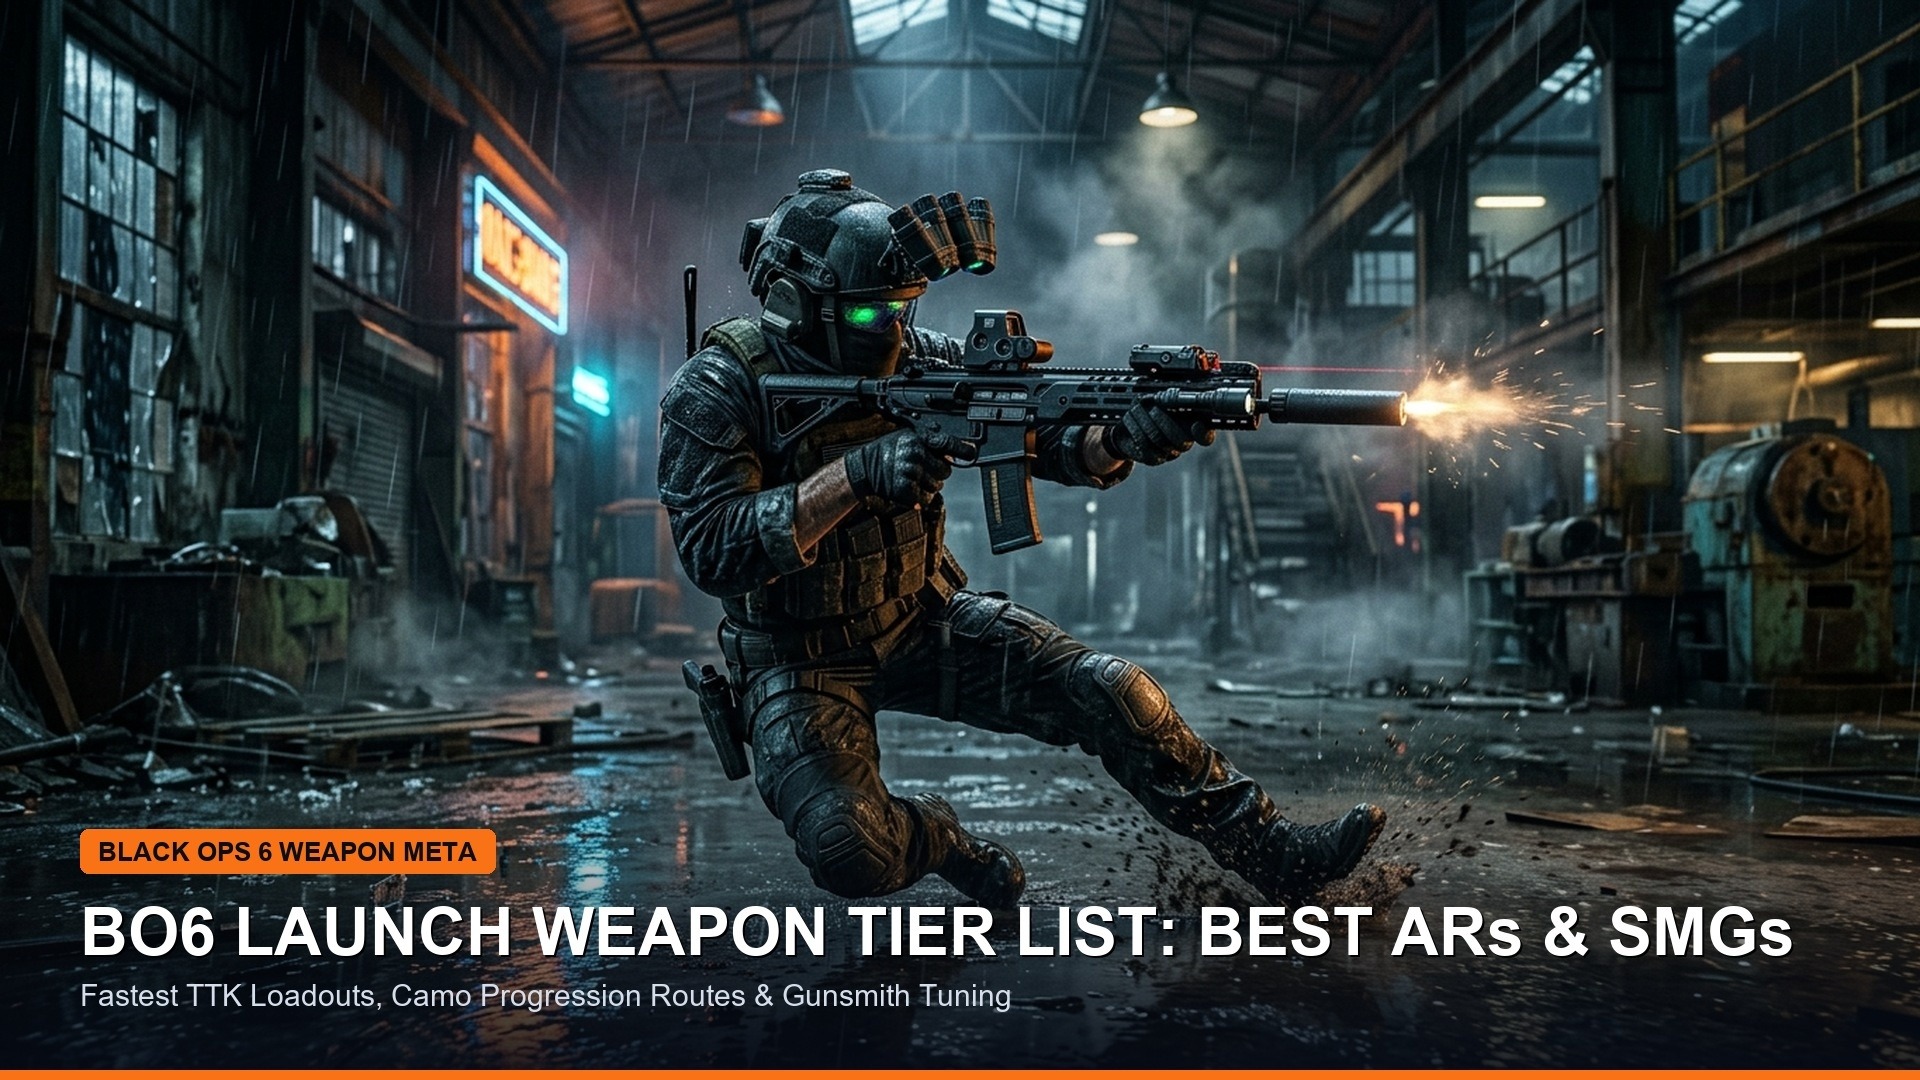
Success in Area 99 Resurgence hinges on weapon duality. The recommended competitive class combines the Model L Assault Rifle (configured for zero-recoil horizontal beam accuracy at 30-50 meters) with the blistering Jackal PDW Submachine Gun (tuned for hip-fire sprint-out speed in tight 5-15 meter warehouse hallways).
Equipping the Overkill perk wildcard paired with Fast Hands ensures lightning-fast weapon swaps when an enemy breaches your room, guaranteeing maximum kill conversion and seamless Resurgence team wipes.
Tactical Equipment & Field Upgrade Combos on Area 99
Equipment selection on Area 99 dictates your survival in close-range room breaches. Running Smoke Grenades as your tactical slot is mandatory for crossing open testing roads between Reactor and Warehouse without getting beamed by snipers.
For your lethal slot, the Semtex or Thermite provides reliable area denial against enemies camping behind portable deployable covers. Coupling this with the Munitions Box field upgrade guarantees your squad never runs out of 5.56mm ammunition or armor plates during relentless multi-team third-party firefights.
Mastering these tactical synergies ensures you consistently conquer Area 99 and dominate every Resurgence lobby you enter throughout Season 1.
High-Ground Rotation Tactics & Audio Settings Calibration
Navigating the verticality of Area 99 requires precise rotational timing. Because the map’s central structures—such as the Pods, Assembly Plant, and Reactor Tower—offer elevated vantage points, staying at ground level during late-game circles is a recipe for disaster. Smart squads prioritize rotating early into third-story balconies and exterior crane structures using zip-lines before gas lines pinch. Holding top-floor control allows you to gatekeep incoming squads as they struggle through open testing fields.
To capitalize on close-quarters situational awareness, adjust your in-game audio mix to Headphone Bass Boost with Master Volume at 100, Dialogue at 35, and Effects at 85. Lowering ambient music to zero isolates enemy footsteps climbing steel stairwells and parachute pop sounds overhead. In a high-octane Resurgence environment where milliseconds decide gunfights, dialed-in spatial audio gives your team a decisive competitive edge.

Remember to coordinate UAV pings with your squad mates prior to pushing contested buy stations. Calling out audio visual cues and tagging enemy elevation markers prevents costly ambushes, solidifying your win-rate throughout competitive Black Ops 6 Resurgence sessions.
2. Omnimovement Traversal & Zip-Line Escape Routes
Area 99 was engineered specifically for omnimovement combat. Exterior walls feature ascendable zip-lines and yellow ladders that allow players to instantly escape ground-floor shotgun spam and challenge rooftop campers.
Utilizing backward and lateral diving mechanics across warehouse roofs breaks camera angles against opposing shooters, allowing you to re-plate in mid-air before re-engaging with an aggressive jump shot.
Frequently Asked Questions (Warzone Area 99 Guide)
Q1: How does Area 99 compare in size to Rebirth Island and Fortune’s Keep?
Area 99 is roughly comparable in surface area to Rebirth Island, but features denser interconnected interior corridors and underground bunkers, leading to higher engagement frequencies.
Q2: Can you unlock Nuketown easter egg rewards in Area 99?
Yes, shooting the heads off all thirty mannequins scattered across Mannequin Assembly within three minutes unlocks a hidden underground bunker door containing gold-tier weapons and an exclusive calling card.
Q3: What is the optimal weapon combination for Area 99?
Pairing the Model L assault rifle (for medium-range rooftop clearing) with the Jackal PDW submachine gun (for fast-paced interior room clearing) dominates the Area 99 meta.