
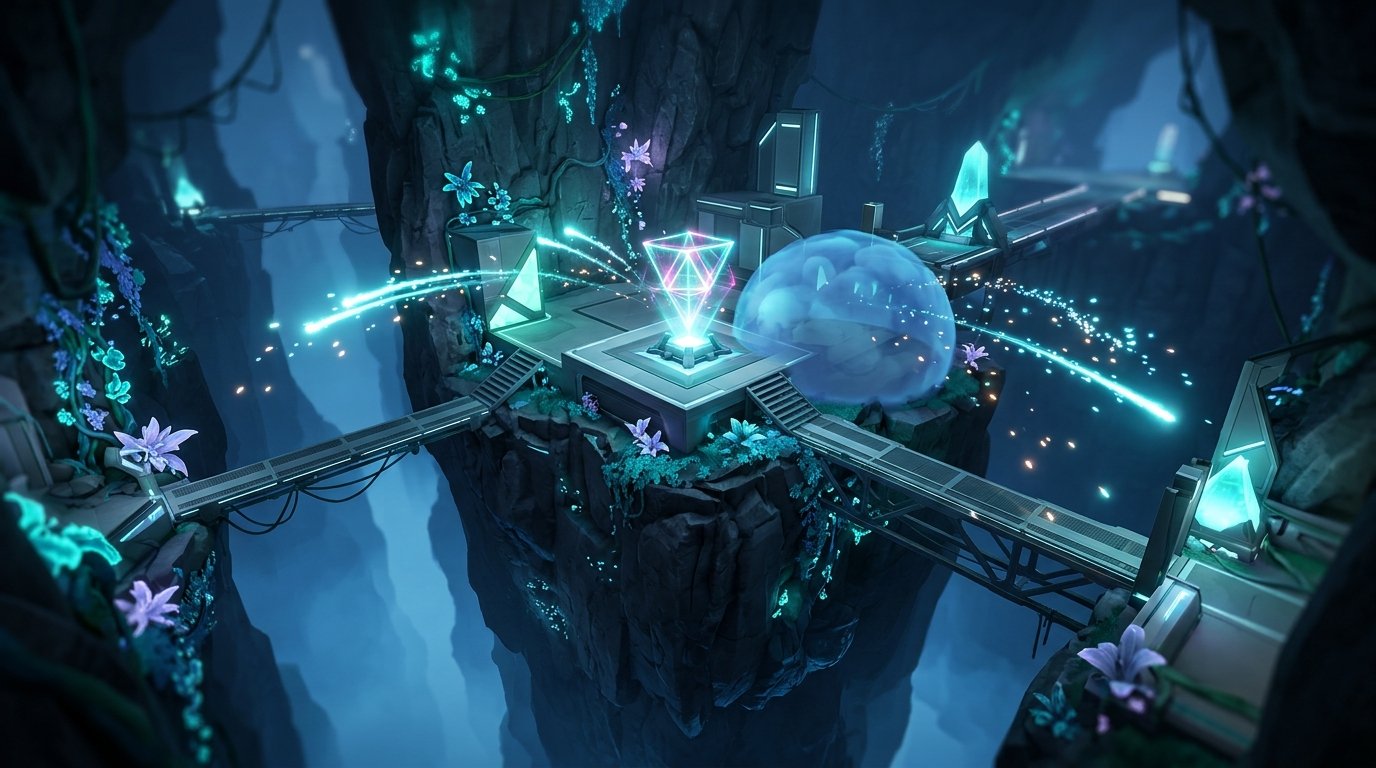
Executive Tactical Summary: VCT Controller Playbook
- Abyss Elevation Dynamics: Abyss’s bottomless pit geometry and vertical elevation changes make Omen’s Paranoia and Dark Cover smokes the undisputed meta controller pick over Viper.
- Sunset Market Lockdown: Astra’s Gravity Well and Nova Pulse stars provide the most oppressive defensive denial on Sunset’s B-Market and Mid Courtyard chokepoints.
- Crosshair Precision: Align your mouse sensitivity and eDPI with our verified Valorant Top 50 Pro Settings Compendium.
- One-Way Smoke Lineups: Detailed pixel lineups to create one-way vision advantages on Abyss A-Bridge and Sunset B-Main.
In Riot Games’ tactical shooter Valorant, controllers are the intellectual architects of every round. While duelists secure highlight-reel opening picks and initiators gather reconnaissance, it is the controller who dictates where gunfights are permitted to occur. Without pristine smoke placement to block enemy sniper sightlines, choke off defensive rotations, and carve sites into favorable micro-duels, even the most mechanically gifted aimers will find themselves picked apart from crossfire angles.
With the introduction of Abyss—Valorant’s revolutionary, bottomless vertical map—and the continued evolution of Sunset in professional VCT competition, the controller meta has experienced a major philosophical shift. Traditional static wall controllers like Viper have seen their pick rates challenged by high-tempo, reactive smoke agents: Omen and Astra.
Understanding how to manipulate line-of-sight on Abyss’s treacherous death-drop bridges and Sunset’s narrow market corridors requires granular map geometry knowledge. Here is our master tactical guide to controller dominance on Abyss and Sunset.
On Abyss, the absence of physical boundary walls around key sightlines introduces a unique competitive challenge: players who are blinded or displaced by utility can physically fall to their deaths off the map edge. Omen has emerged as the definitive S-tier controller on Abyss due to his 3D targeting interface. While Astra and Brimstone operate from a flat 2D minimap, Omen can place Dark Cover smokes on floating pillars and elevated rafters with millimeter precision.
A classic Omen execution on Abyss A-Site involves smoking A-Tower (Heaven) and A-Bridge simultaneously. By placing a “One-Way Smoke” on the ledge of the bridge, defensive defenders cannot cross without their feet becoming fully visible to attackers pushing through A-Main. Furthermore, Omen’s Shrouded Step allows him to teleport across death-chasm gaps silently, completely bypassing enemy trap setups and creating unexpected flanking angles.
On Sunset, the map is won or lost through control of Mid and B-Market. Because Sunset features ultra-compact corridors, Astra’s astral stars provide unparalleled stalling power. Placing a star at the entrance of B-Market allows Astra to trigger a Gravity Well the second the defense hears enemy footsteps, pulling attackers backward into the doorway while applying the Vulnerable debuff. A teammate firing an Odin or Phantom through the wall can effortlessly pick up multi-kills without ever exposing their body.
Post-plant scenarios demand strict smoke timing. A common mistake among amateur controllers is deploying smokes immediately upon planting the spike. Professional controllers wait until the defensive retake initiates: saving a smoke to drop directly onto the defusing player with 15 seconds remaining forces defenders to defuse blind or expend valuable utility to clear the smoke, securing round victory.
Abyss & Sunset Controller Pick Rate Telemetry (VCT Champions)
The following statistical table highlights controller agent pick rates and win rates across professional tier-1 VCT matches on Abyss and Sunset.
The Path to Radiant: Patience and Cooldown Discipline
Playing controller at the highest level requires intellectual maturity. By communicating smoke timings with your duelists, mastering one-way lineups, and holding your utility until the decisive moment of retake execution, you become the invisible spine of your team’s tactical success.
Controller Utility Duration & Cooldown Telemetry Table
In competitive Valorant, choosing the right Controller agent dictates site execution pacing, vision denial duration, and post-plant stall capability. On vast maps like Abyss with dangerous vertical drop hazards, smoke placement precision is paramount. Below is our telemetry comparison across all competitive Controllers:
| Controller Agent | Smoke Duration | Recharge Cooldown | Max Range / Geometry | Post-Mortem Availability |
|---|---|---|---|---|
| Omen (Dark Cover) | 15.0 seconds | 30 seconds (2 max) | Global / Hollow sphere | No (Lost upon death) |
| Astra (Nebula / Dissipate) | 14.25 seconds | 25 seconds (Star recall) | Astral Form / Global | No (Must activate alive) |
| Viper (Poison Cloud / Wall) | 15.0s (Full toxin bar) | Toxin fuel regeneration | Screen line / Pickup orb | No (Deactivates instantly) |
| Clove (Ruse) | 13.5 seconds | 30 seconds (2 max) | Medium Radius / Tactical Map | YES (Active while dead) |
Abyss & Sunset Strategic Smoke Execution Playbook
Map layout dictates controller utility effectiveness. Abyss features gaping environmental death-pits and massive vertical elevation changes, whereas Sunset revolves around tight 90-degree choke points and Mid Market dominance:
Map-Specific Controller Tactics
- Abyss A-Site Bridge Denial: Omen’s Dark Cover must be placed slightly floating over the middle bridge to obscure defenders on Danger tower while granting attackers safe passage across the gap.
- Sunset Mid Market Lockdown: Astra’s Gravity Well placed directly in front of the Market sliding metal door pulls rushing attackers off the switch, delaying Mid splits by 8 crucial seconds.
- Post-Plant Snakebite Denial: Viper’s molotov lineups on Sunset B-Site deal 24 damage per second combined with Vulnerable debuff, guaranteeing an impossible defusal situation.
For crosshair settings, monitor DPI, and complete peripheral loadouts used by champions like TenZ, aspas, and Boaster, consult our authoritative Ultimate Valorant Pro Settings & Peripheral Compendium.
Pre-Round Controller Communication & Mini-Map Callout Protocols
Because Controller smokes dictate how the entire team rotates and executes onto sites, playing Omen, Astra, or Viper demands superior in-game communication (IGL) clarity. Top Radiant controllers follow three mandatory callout rules:
Radiant Controller Communication Standards
- The 3-Second Smoke Drop Countdown: Call “Smokes blooming in 3, 2, 1—Initiators flash now!” This synchronizes duelist entry (Jett dash / Raze satchel) exactly as vision is obstructed, preventing defenders from finding early opening picks.
- Smoke Expiration Alert: Call “Abyss A-bridge smoke fading in 4 seconds, fall back to defuse line.” Teammates holding inside site can reposition without getting caught by returning sightlines.
- One-Way Bait Callouts: Alert your site anchor: “Sunset Market one-way active—hold feet-level crosshair, do not peek head-height.” This maximizes the defensive conversion rate.
Frequently Asked Questions: Valorant Controller Meta
Q1: Why is Omen preferred over Viper on Abyss?
Abyss’ three-dimensional vertical topography and floating bridges make Viper’s flat Poison Screen difficult to position effectively. Omen’s 3D targeting allows smokes to land on elevated ledges and bridge drop-offs with pin-point precision.
Q2: Can Clove place smokes anywhere on the map after dying?
No. When eliminated, Clove can only place smokes within a defined circular radius centered directly around their corpse. Dying near contested bomb sites is critical for post-death utility impact.
Q3: How do you counter an Astra Gravity Well on the Sunset B-Site plant?
KAY/O knife suppression or Sova shock darts targeting Astra’s pre-placed star will temporarily disable or bait the star before the spike planter initiates the 4-second plant animation.
Q4: What is the benefit of a hollow smoke vs a solid smoke?
Hollow smokes (like Omen’s) allow players to stand inside with clear internal visibility, enabling “smoke criminal” shotgun plays. Solid smokes (like Brimstone’s) heavily obscure internal vision with thick dark particles.
Tactical Echo: Why Site-Anchor Patience Wins 1v2 Clutches
Radiant controllers win rounds by staying alive until the spike is planted. Every second an Omen or Astra remains breathing forces attackers to check multiple smoke corners and burn recon utility. Once defusal begins, delaying just 7 seconds with a single smoke and blind enables your rotating teammates to set up crossfires that flip unwinnable retakes into tournament-defining round victories.
Related posts:
 Valorant 2027 Input Latency & Deadzoning Hacks: How Pros Achieve Zero Micro-Stutter and Pixel-Perfect Crosshairs
 Valorant Night Market & Episode 9 Act 3 Tracker: Eligible 1,775 VP Skins, Sunset Rework & Map Rotation
 Valorant Abyss Map Smokes & Lineups Guide: Omen One-Ways, Viper Walls & Cypher Trapwire Setups
 LoL Worlds Quarterfinals Bracket & Match Schedule: T1 vs TES, Gen.G vs FlyQuest & Pick’em Predictions