
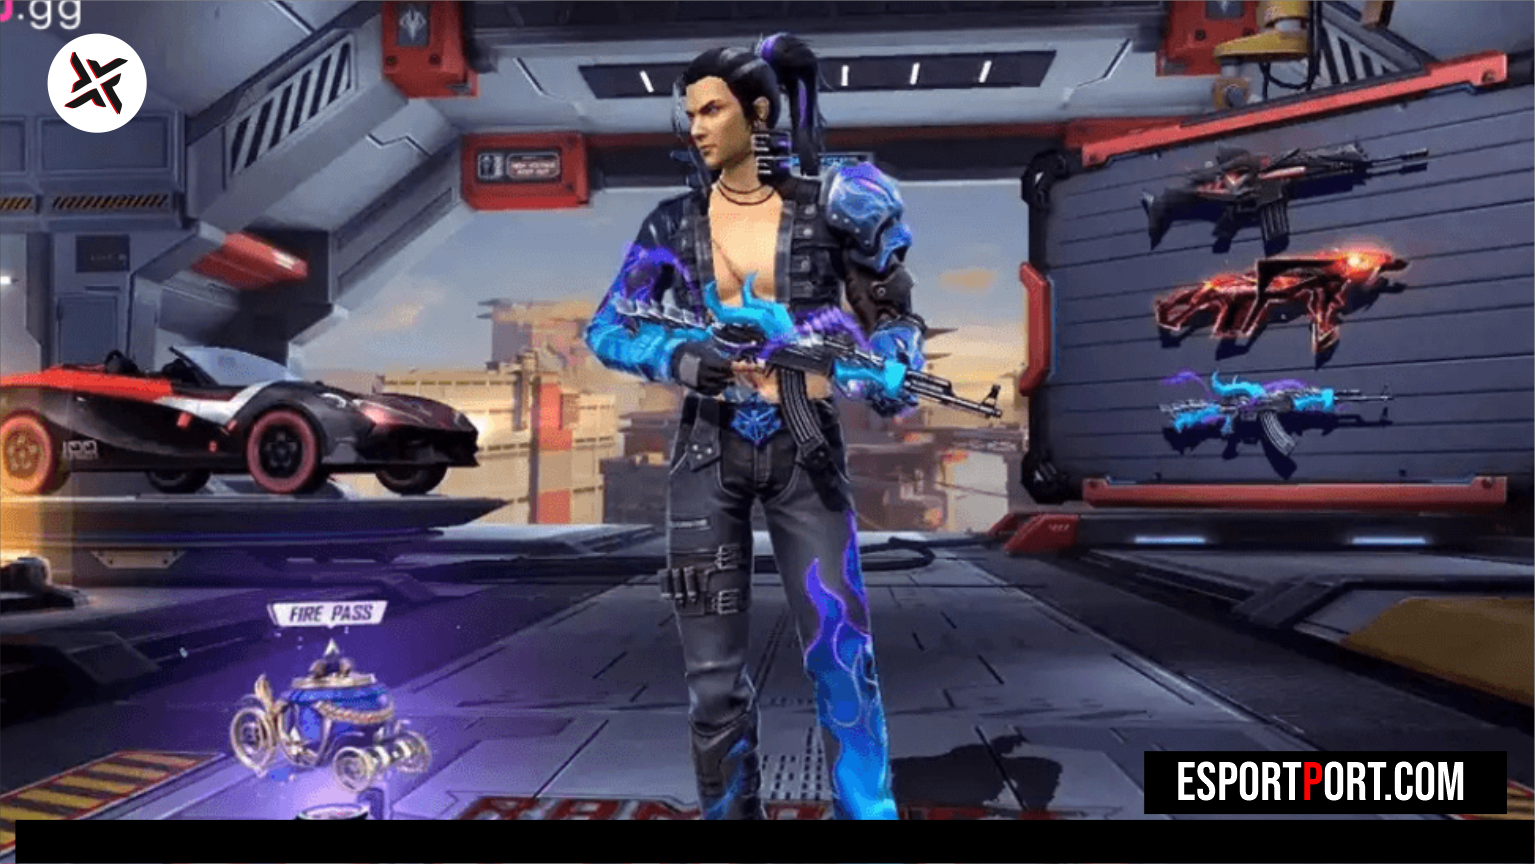
Losing a decisive 3-3 Clash Squad Ranked round after landing what looked like a clean red-number headshot is one of the most misunderstood mechanics in Garena’s battle royale. In 2026, surviving Level 3 and Level 4 Helmet upgrades with the Thickener attachment means raw base stats no longer guarantee an instant knockdown—understanding true Free Fire weapon damage requires calculating Armor Penetration % and Range Drop-Off Multipliers together.
While players often debate whether the M1887 twin-barrel shotgun, the Woodpecker marksman rifle, or the Desert Eagle hand cannon is the undisputed one-tap king, each weapon operates inside a strict distance and helmet-durability bracket. Below is our complete mathematical breakdown of helmet damage mitigation, pellet spread physics, and gun-by-gun time-to-kill (TTK) data.
- Table of Contents:
- 1. How Helmet Mitigation & Armor Penetration Actually Calculate Red Numbers
- 2. One-Tap Headshot Damage Matrix Against Level 1 to Level 4 Helmets
- 3. SMG & Assault Rifle Sustained TTK Breakdown (UMP, MP40 & Groza)
- 4. 💡 Pro Clash Squad Analysis: Combining Maro + Bushido + Wolfrahh Passives
🔥 NEXT UP (Don’t Miss This): Free Fire MAX Best Zero-Lag Headshot Sensitivity Settings for 4GB & 6GB RAM Phones
1. How Helmet Mitigation & Armor Penetration Actually Calculate Red Numbers
Before selecting your primary firearm in the Clash Squad buy menu or Battle Royale vending machine, you must understand why high-base-damage guns sometimes leave enemies alive with 12 HP. Every calculation of Free Fire weapon damage passes through three sequential server checks:
- The Level 3 Helmet + Helmet Thickener Wall (66% Mitigation): A standard Level 3 Helmet absorbs 55% of incoming headshot damage, and slotting a Helmet Thickener pushes total cranial damage reduction past 65%. Weapons with 0% native Armor Penetration (like the MP40 or standard M1014) lose two-thirds of their headshot multiplier against late-game helmets.
- Why Woodpecker & M1887 Ignore Helmet Tiers: The Woodpecker carries a massive 75% native Armor Penetration stat, and the M1887 carries 54% native Armor Penetration. This means over half of their headshot multiplier bypasses the enemy’s helmet entirely, dealing true HP damage straight to the player’s 200 HP pool.
- Shotgun Pellet Registration (The 2-Pellet Rule): When firing an M1887 J-drag headshot at 8 meters, you do not need all 8 shotgun pellets to hit the head—landing just 3 head pellets + 2 upper-chest pellets exceeds the 200 HP threshold against a Level 3 Vest and Helmet.
2. One-Tap Headshot Damage Matrix Against Level 1 to Level 4 Helmets
We tested every meta one-tap weapon in the Training Grounds against stationary and strafing targets wearing Level 2, Level 3, and Level 4 Helmets (200 HP + 50 Shield Points). Use this verified Free Fire weapon damage chart to pick your exact one-tap firearm:
| One-Tap Weapon | Armor Pen % | Headshot vs. Lvl 2 Helmet | Headshot vs. Lvl 3 Helmet | Max 1-Tap Knock Range |
|---|---|---|---|---|
| 1. Desert Eagle (CS Meta) | 52% | 495 DMG (Instant Knock) | 368 DMG (Instant Knock) | Up to 35 Meters |
| 2. Woodpecker (Marksman King) | 75% | 392 DMG (Instant Knock) | 334 DMG (Instant Knock) | Up to 75 Meters |
| 3. AC80 (2-Tap Shield Breaker) | 70% | 340 DMG (Instant Knock) | 278 DMG (Instant Knock) | Up to 80 Meters |
| 4. M1887 (Point-Blank King) | 54% | 65+ Per Pellet (Instant) | 52+ Per Pellet (4 Pellets) | Up to 9 Meters |
| 5. M500 (Round 1 Pistol) | 34% | 247 DMG (Instant Knock) | 182 DMG (Leaves 18 HP) | Up to 28 Meters (Round 1) |
3. SMG & Assault Rifle Sustained TTK Breakdown (UMP, MP40 & Groza)
When enemies stack Gloo Walls and force close-range spray duels, raw rate of fire and armor shred dictate who wins the trade. Compare the sustained Free Fire weapon damage per second across the top five automatic guns:
| Automatic Weapon | Armor Penetration | Base Rate of Fire | Headshot + Body Combo TTK | Best Gun Skin Attribute |
|---|---|---|---|---|
| 1. UMP (Armor Shred SMG) | 63% (Highest SMG) | 75 | 0.28 Seconds (2 Head + 1 Body) | ++Rate of Fire / +Armor Pen |
| 2. MP40 (Cobra / Evo Rush) | 0% (Base) | 83 (Fastest SMG) | 0.31 Seconds (3 Headshots) | ++Damage / +Rate of Fire |
| 3. Bizon (High-Aim-Assist SMG) | 25% | 73 | 0.34 Seconds (2 Head + 2 Body) | ++Rate of Fire / +Accuracy |
| 4. Groza-X (Airdrop AR King) | 34% | 58 | 0.26 Seconds (2 Headshots) | ++Rate of Fire / +Range |
🔥 ALSO READ ON ESPORTPORT: Free Fire MAX Drag Headshot Guide: Optimal Fire Button Size, Safe DPI & J-Drag Trick
4. 💡 Pro Clash Squad Analysis: Combining Maro + Bushido + Wolfrahh Passives
To push your Free Fire weapon damage past the 250 HP threshold against enemies running Orion or Sonia shields, equip Wolfrahh (which increases your headshot multiplier by up to +30% while reducing enemy headshot damage taken by 30%) alongside Maro (+25% distance damage scaling for Woodpecker/AC80) or Hayato’s Art of Blades (+10% extra armor penetration when your HP drops). You can review official weapon balance adjustments directly on the Official Garena Free Fire Weapons Armory before entering Grandmaster lobbies.