
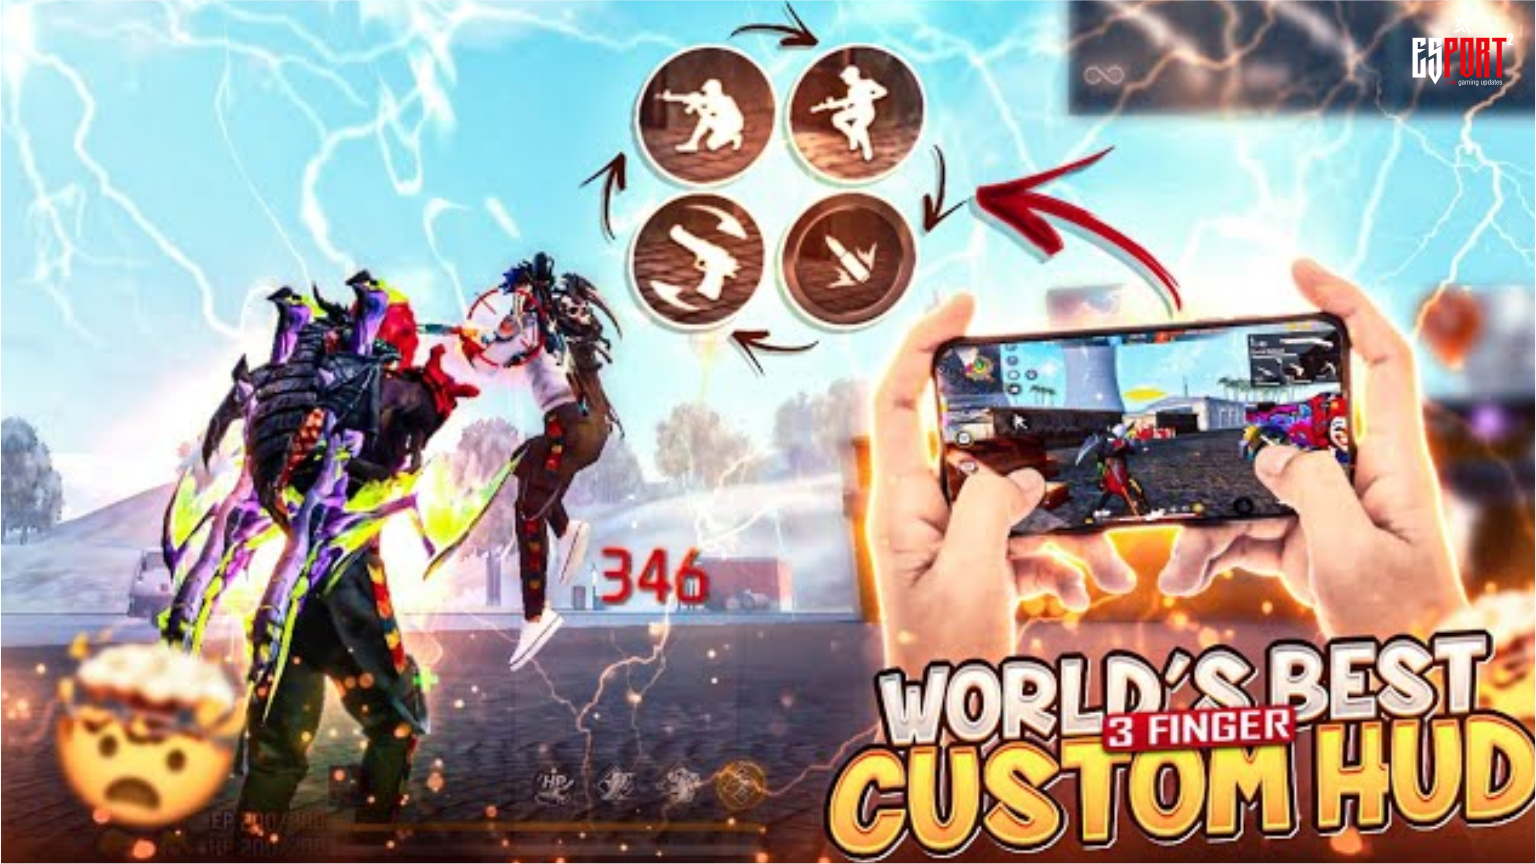
Free Fire MAX 3 finger custom HUD 2026
First, progressing beyond the Diamond rank in Free Fire MAX is mathematically difficult if you only use two thumbs. Because aggressive close-range combat requires you to jump, crouch, and shoot simultaneously, a basic two-finger layout is simply too slow. Consequently, millions of professional players use the Free Fire MAX 3 finger custom HUD 2026 layout to instantly increase their reaction speed.
Therefore, we have compiled the ultimate transition guide for aspiring professional players. If you want to perfectly execute the legendary “One-Tap Headshot” and master Gloo Wall deployments, you must meticulously copy the exact percentages detailed below.
1. Why the 3-Finger Layout is Perfect
Historically, many players attempt to jump straight from two thumbs into a complex 4-finger claw setup. However, this often causes massive hand cramping and severe accuracy drops.
The 3-finger layout is the perfect middle ground. By placing your Left Index Finger permanently over the top-left section of your screen, you dedicate it entirely to the “Jump” and “Left Fire” buttons. Consequently, your right thumb is completely free to focus 100% on dragging your crosshair to the enemy’s head!
ALSO READ: Are you struggling to land consistent headshots with your new layout? Therefore, you must read our “Ultimate Free Fire MAX Auto Headshot Guide 2026!”
2. Exact Custom HUD Percentages (August 2026)
Because button size directly affects your muscle memory, you cannot simply guess where to place them. You must open your Custom HUD editor right now and precisely adjust your button transparency and size to match these exact professional metrics:
- Right Fire Button (Drag Headshots): Size 45% (Place this in the bottom right corner)
- Left Fire Button (Gloo Wall Spam): Size 80% (Place this in the top left corner under your index finger)
- Jump Button: Size 90% (Place directly next to the Left Fire Button)
- Crouch Button: Size 85% (Place in the bottom left corner, above the joystick)
- Gloo Wall Button: Size 100% (Place in the middle left screen for instant deployment)
- Sprint Button: Size 80% (Place directly above the joystick)
(Note: You should set the Transparency of all buttons to 30% so they do not block your vision during intense squad fights).
3. Best 3-Finger Sensitivity Settings
Furthermore, a perfect Custom HUD is completely useless if your screen sensitivity is too slow. Because the 3-finger layout requires rapid 180-degree camera flicks, you must heavily increase your overall sensitivity.
- General: 95 – 100 (Essential for fast camera rotation)
- Red Dot: 90 – 95
- 2x Scope: 85 – 90
- 4x Scope: 80 – 85
- Sniper Scope: 50 – 55
- Free Look: 70 – 75
ALSO READ: Do you also play BGMI on your mobile device? Therefore, you must copy the pro settings from our “BGMI 4-Finger Claw Setup Guide!”
In conclusion, adjusting your Custom HUD requires immense patience. You will likely misclick the fire button for the first 48 hours. Therefore, you must spend at least two days practicing in the Training Grounds before risking your rank in Clash Squad!
Are you currently transitioning from 2 fingers to 3 fingers? Did adjusting the Right Fire button size help you land more headshots? Let us know in the comments below!