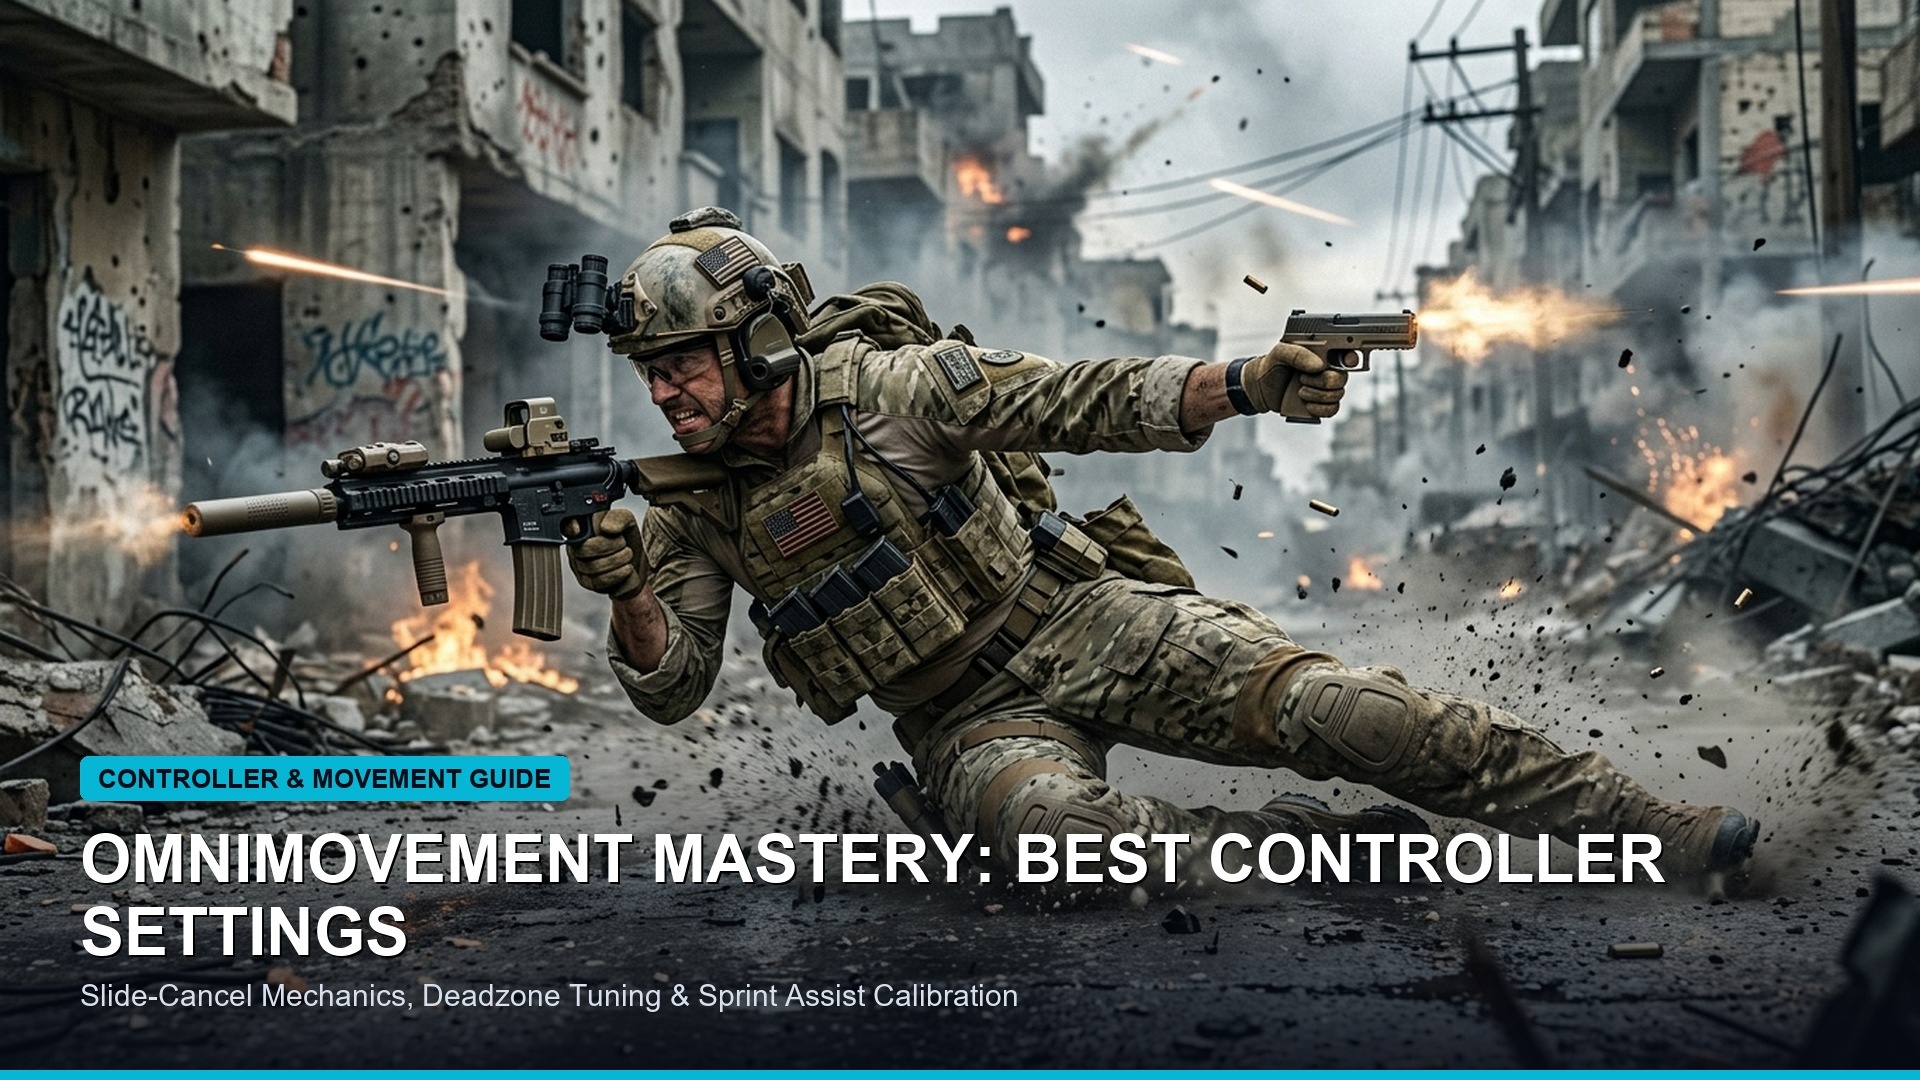
The competitive landscape of online first-person shooters has undergone an adrenaline-fueled revolution following the official rollout of Season 1 in Call of Duty: Black Ops 6 and its high-stakes integration into Warzone. Centered around the debut of Treyarch’s groundbreaking ‘Omnimovement’ system—allowing operators to sprint, slide, dive, and fire their weapons across 360 degrees of freedom without breaking camera momentum—the skill ceiling in multiplayer lobbies and battle royale drops has expanded exponentially. Players who rely on old-school corner-camping or linear movement mechanics find themselves utterly dismantled by high-speed movement athletes.
However, truly mastering Omnimovement requires far more than haphazardly spamming the slide button. Elite Call of Duty League (CDL) professionals and high-kill Resurgence streamers fine-tune their deadzones, optimize controller aim assist response curves, and map advanced tactical paddle layouts to chain backward supersonic dives into instantaneous headshot laser beams. Furthermore, with the weapon balance overhaul establishing a cutthroat time-to-kill (TTK) meta, pairing advanced movement mechanics with mathematically optimized loadouts is mandatory.


For more tactical shooter intelligence, review our comprehensive tournament breakdown of the CS2 Shanghai Major Opening Stage LAN Matchups. Below is the definitive guide to unlocking the full potential of Omnimovement hacks, aim assist calibration, and Season 1 meta weapon builds in Black Ops 6 and Warzone.
| Movement System | Technical Engine Mechanic | Competitive In-Game Advantage |
|---|---|---|
| 360° Omnisprint | Full tactical sprint velocity in backward and lateral vectors | Retreat from gunfights while maintaining complete sprint speed |
| Omnidirectional Dive | Mid-air directional rotation with 360° weapon aim tracking | Dive backward out of doorways while firing directly into chasing enemies |
| Supine Prone Stance | Lie on back following dive, swiveling upper body freely | Hold narrow angles from unexpected floor perspectives under desk cover |
| Intelligent Movement Automation | Customizable mantle, crouch, and corner-slice automation toggles | Eliminates redundant button presses for seamless parkour navigation |
Controller Settings Optimization: Deadzones & Aim Assist Curves
To extract the absolute highest mechanical ceiling from Omnimovement, your controller settings must eliminate input delay and maximize rotational aim assist tracking. The foundational baseline starts with your stick deadzones. Leaving your Left Stick Min Deadzone at the default 10 introduces massive latency when initiating sprint commands. Lower your Left Stick Min to 2 or 3 (or the lowest value before stick drift appears) and set your Left Stick Max to 75. This ensures that pushing your analog stick slightly past halfway immediately triggers full tactical sprint velocity across every direction.
For aiming precision, switch your Aim Response Curve Type from ‘Standard’ to ‘Dynamic’. Dynamic response curve provides a reverse S-curve acceleration profile: fine micro-adjustments near the center stick remain exceptionally controllable, while full-stick deflections ramp up rapidly to allow instantaneous 180-degree camera whips when breaking enemy cameras during a slide-dive.
Under the Aim Assist menu, select the ‘Black Ops’ or ‘Default’ aim assist preset. Crucially, maximize Rotational Aim Assist by ensuring your left analog stick is constantly engaged during gunfights. By gently strafing or wiggling your left stick while firing, the game’s rotational algorithm automatically locks onto enemy torsos, compensating for rapid enemy directional changes during Omnisprint sequences.
| Controller Parameter | Pro Recommended Setting | Competitive Mechanical Impact |
|---|---|---|
| Left Stick Min / Max Deadzone | Min: 2-3 | Max: 75 | Instantaneous Omnisprint initiation with zero stick delay |
| Right Stick Min / Max Deadzone | Min: 3-5 | Max: 99 | Subtle micro-aim adjustments with full linear deflection range |
| Aim Response Curve | Dynamic | Superior tracking on fast-moving targets during lateral slides |
| Slide / Dive Behavior | Tap to Slide (Hybrid or Inverted) | Enables frame-perfect slide canceling and rapid tactical repositioning |
Pro Omnimovement Combos: The Backward Superman Dive & Camera Break
Mastering individual Omnimovement mechanics is only the beginning: chaining them together into unpredictable, camera-breaking combinations is what wins high-tier Warzone lobbies. The most devastating combo in close-quarters building warfare is the ‘Backward Superman Dive’. When an opponent chases you around a tight corridor or doorway, instead of running away passively, initiate a full backward tactical sprint, hold your dive button, and whip your crosshairs 180 degrees backward toward the doorway.


Your character will launch backward through the air while remaining fully horizontal, catching your pursuer completely off-guard. Because enemy players naturally anticipate targets to be either standing at eye level or crouching on the floor, diving horizontally through their lower peripheral vision breaks their aim assist lock entirely. As you land in the Supine Prone position, your weapon remains fully ADS (Aiming Down Sights), allowing you to melt their lower torso before they can even adjust their crosshair elevation.
Another essential technique is the ‘Lateral Corner Slice’. By combining forward sprint with a sharp 90-degree lateral slide around corners, operators can aggressively peek sightlines while minimizing bodily exposure. When combined with the newly balanced weapon attachments that reduce slide-to-fire delays, sliding laterally across chokepoints turns you into an elusive blur.
| Advanced Movement Combo | Execution Cadence | Optimal Tactical Combat Scenario |
|---|---|---|
| Backward Superman Dive | Backward Sprint -> Hold Dive -> ADS Mid-Air | Countering aggressive rushers chasing you through doorways |
| Lateral Slide-Cancel Peek | Sprint -> 90° Slide -> Tap Crouch to Cancel -> Jump | Peeking long sniper sightlines and breaking stationary headglitches |
| Supine 360° Floor Spin | Dive to Ground -> Maintain Prone -> Swivel Right Stick | Holding bomb sites or objective hardpoints under low desks and counters |
| Ledge-Hang Camera Bait | Mantle Ledge -> Hold Down -> Drop and Fire Sidearm | Baiting roof campers before jumping backward into open window frames |
Furthermore, tactical audio configuration is critical for tracking high-speed omnimovement audio cues. In the Black Ops 6 audio settings, switch your Audio Mix preset to ‘Headphones Bass Boost’ and lower dialogue volume to 30%. This isolates footstep frequency bands, allowing you to hear enemy slide-cancels and mantles through concrete floors before players breach your line of sight.
Season 1 Meta Loadouts: Model L, Jackal PDW & Ames 85
To capitalize on lightning-fast movement, your weapons must possess hyper-competitive theoretical time-to-kill (TTK) ratings paired with rapid sprint-to-fire and aim-down-sights (ADS) handling. In the current Season 1 metagame, three primary firearms dominate competitive tier lists: the Model L assault rifle, the Jackal PDW submachine gun, and the Ames 85 precision rifle.
For close-quarters Resurgence combat, the Jackal PDW remains the undisputed king. Despite early balance adjustments, equipping the Reinforced Barrel, Ergonomic Grip, and CQB Stock yields a blistering 560ms TTK inside 12 meters with near-instantaneous sprint-to-fire transitions. For medium-to-long range engagements across Urzikstan and Area 99, the Model L provides laser-beam recoil stabilization. With the Compensator, Long Barrel, and Vertical Foregrip, the Model L drops enemies in under 680ms across 40 meters, rivaling high-caliber battle rifles in raw stopping power.

Ensure that you equip the Gunfighter Wildcard to unlock all eight attachment slots, ensuring that you never sacrifice handling attachments (such as quick-draw rear grips) for essential optic or magazine capacity upgrades.
| Meta Weapon | Optimal Class Role | Key 5-Attachment Setup | Effective Combat Range |
|---|---|---|---|
| Jackal PDW (SMG) | CQC Aggressive Slayer | Reinforced Barrel, Ergonomic Grip, CQB Stock, 40-Rnd Mag, Compensator | 0 to 15 Meters (Ultra-Fast Sprint-to-Fire) |
| Model L (Assault Rifle) | All-Round Medium Meta | Long Barrel, Vertical Foregrip, Extended Mag II, Kepler Microflex, Compensator | 15 to 45 Meters (Pinpoint Recoil Control) |
| Ames 85 (Assault Rifle) | Long-Range Beam | Ranger Foregrip, Heavy Barrel, 45-Rnd Drum, Volzhskiy Reflex, Tactical Stock | 25 to 60 Meters (Zero Recoil Jitter) |
| LR 7.62 (Sniper Rifle) | One-Shot Elimination | Lightweight Barrel, Quickdraw Stock, Fast Mag, Bipod, Sound Suppressor | 50+ Meters (One-Shot Chest/Head Lethality) |
Frequently Asked Questions (FAQ)
What is Omnimovement in Call of Duty?
Omnimovement allows operators to sprint, slide, and dive in any direction (forward, backward, left, right, and diagonally) while freely aiming and firing their weapons across 360 degrees.
What is the best Aim Response Curve for BO6 and Warzone?
Dynamic is the undisputed pro standard, offering fine precision aiming near the center stick while allowing rapid camera rotation on full stick deflections.
How do you trigger Rotational Aim Assist consistently?
Keep your left movement stick constantly active while shooting. Wiggling or strafing with the left stick forces the game’s rotational aim assist to track target models automatically.
What is the #1 SMG in Warzone Season 1?
The Jackal PDW remains the top close-range SMG due to its rapid time-to-kill, minimal hip-fire spread, and instant sprint-to-fire speed when built with CQB and Ergonomic attachments.
Related posts:
 Genshin Impact Redeem Codes August 2026: Free Primogems
 BGMI Lite Pre-Registration Opens in 4 Days: Everything to Know (August 21)
 GTA 6 Vice City Gameplay Hacks: Hidden Mechanics, Weapon Wheel & Exploration Pro Tips
 BGMI Redeem Codes Today (Nov 12, 2026): Official Claim Guide, Active Tracker & Scam Fixes