
Replacing Lotus & Icebox
Double Controller Retake Anchor
Mailbox & Vents Denial
Tripwire Chokepoints
- The Pearl B-Site Overhaul: The updated B-Long sightlines on Pearl require a dedicated Viper Toxic Screen slicing the hall and tower sightlines, or attackers will be systematically picked apart by Operator snipers.
- Split Mid-Mail Supremacy: In Ascendant and Immortal ranks, teams that secure Mid Mail on Split convert 76.2% of rounds. Running an Omen Paranoia blind through ropes breaks defensive holds instantly.
- Vyse’s Competitive Debut: Sentinel newcomer Vyse replaces Killjoy on Sunset and Split due to her Arc Rose flash and Shear wall traps that permanently split attacking push timings.
🇺🇸 EDT: 16:21 – 00:00 (Saturday Night NA Ranked Grind)
🇪🇺 CET: 22:21 – 06:00
🇮🇳 IST: 01:51 – 10:30 (Sun)
🇯🇵 JST: 05:21 (Sun)
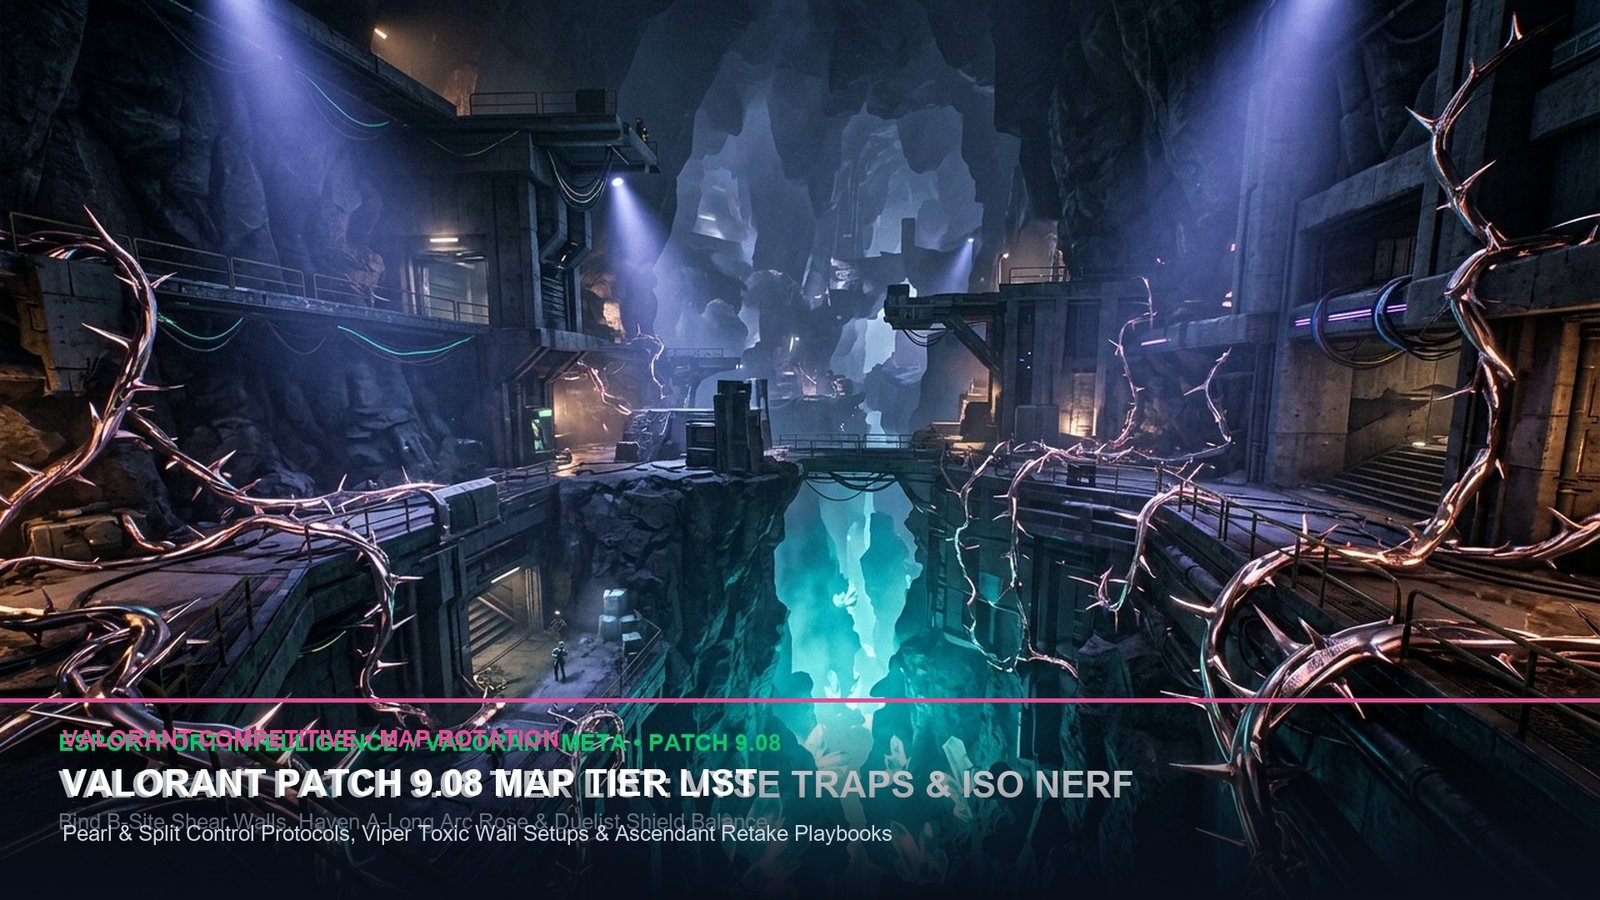
The Map Pool Shakeup: Valorant Patch 9.08 Map Tier List
Riot Games has officially deployed Patch 9.08 for Valorant, triggering a massive seismic shift in the competitive landscape. With Lotus and Icebox rotated out of the active map pool, underwater metropolis Pearl and vertical battleground Split return with critical structural adjustments. In our comprehensive Valorant Patch 9.08 Map Tier List, we rank all seven competitive maps, detail the essential controller smoke lineups, and outline high-percentage retake protocols for Ascendant, Immortal, and Radiant lobbies.
In our earlier esports breakdown of League of Legends Worlds 2026 Semifinal Telemetry, we analyzed how draft compositions determine strategic map control; in Valorant, your agent composition and utility layering dictate economic dominance over a 24-round MR12 regulation match.
Active Map Pool Ranking & Win Rate Telemetry
The Patch 9.08 map pool features seven distinct battlegrounds: Pearl, Split, Haven, Ascent, Bind, Sunset, and Abyss. Each map demands specialized utility architecture. Running single-initiator or single-controller comps on maps like Pearl or Sunset often results in defensive collapse due to the sheer volume of territory required to contest.
🎯 Pro Lineups & Tactical Hacks on Pearl
+EV Viper Wall on Pearl: Stand on the bench in Defender Spawn, aim at the antenna above B-Hall, and deploy your Toxic Screen. This wall completely seals off B-Hall and B-Screen simultaneously, forcing attackers through a single narrow doorway into your crosshair.
-EV Amateur Mistake: Dry-peeking Mid Courtyard on Ascent without initiator recon. Against Ascendant-tier Jett and Chamber players holding the angle with an Operator, dry-peeking gives away first blood in over 70% of rounds.
Retake Protocols: 5-Man Synchronized Executes
In high-tier lobbies, attempting solo hero plays during a site retake guarantees failure against coordinated post-plant lineups. The golden rule of MR12 retakes is the 3-Second Utility Dump. Instead of trickling through main chokepoints one by one, your entire surviving team must group at the primary connector (e.g., A-Link on Pearl or CT Spawn on Split) and dump all remaining flashes, concussions, and smokes simultaneously.
For more competitive hardware and frametime benchmarks, check out our guide on Steam Deck OLED vs. ROG Ally X Handheld Shootout.
Related posts:
 Call of Duty: Black Ops 6 Launch Weekend Weapon Tier List: Best AR, SMG & Sniper Loadouts for Day-1 Dominance
 Call of Duty: Warzone Season 6 Weapon Meta: Urzikstan & Rebirth Island Long-Range AR & Close-Range SMG Tier List
 Steam Deck OLED vs. ROG Ally X Handheld Shootout: Battery Life, 1% Low FPS & Ergonomics for Late-Night Gaming
 Call of Duty: Black Ops 6 Omnimovement Pro Mastery: Sprint Assist, Slide-Cancel Timing & Controller Deadzones