
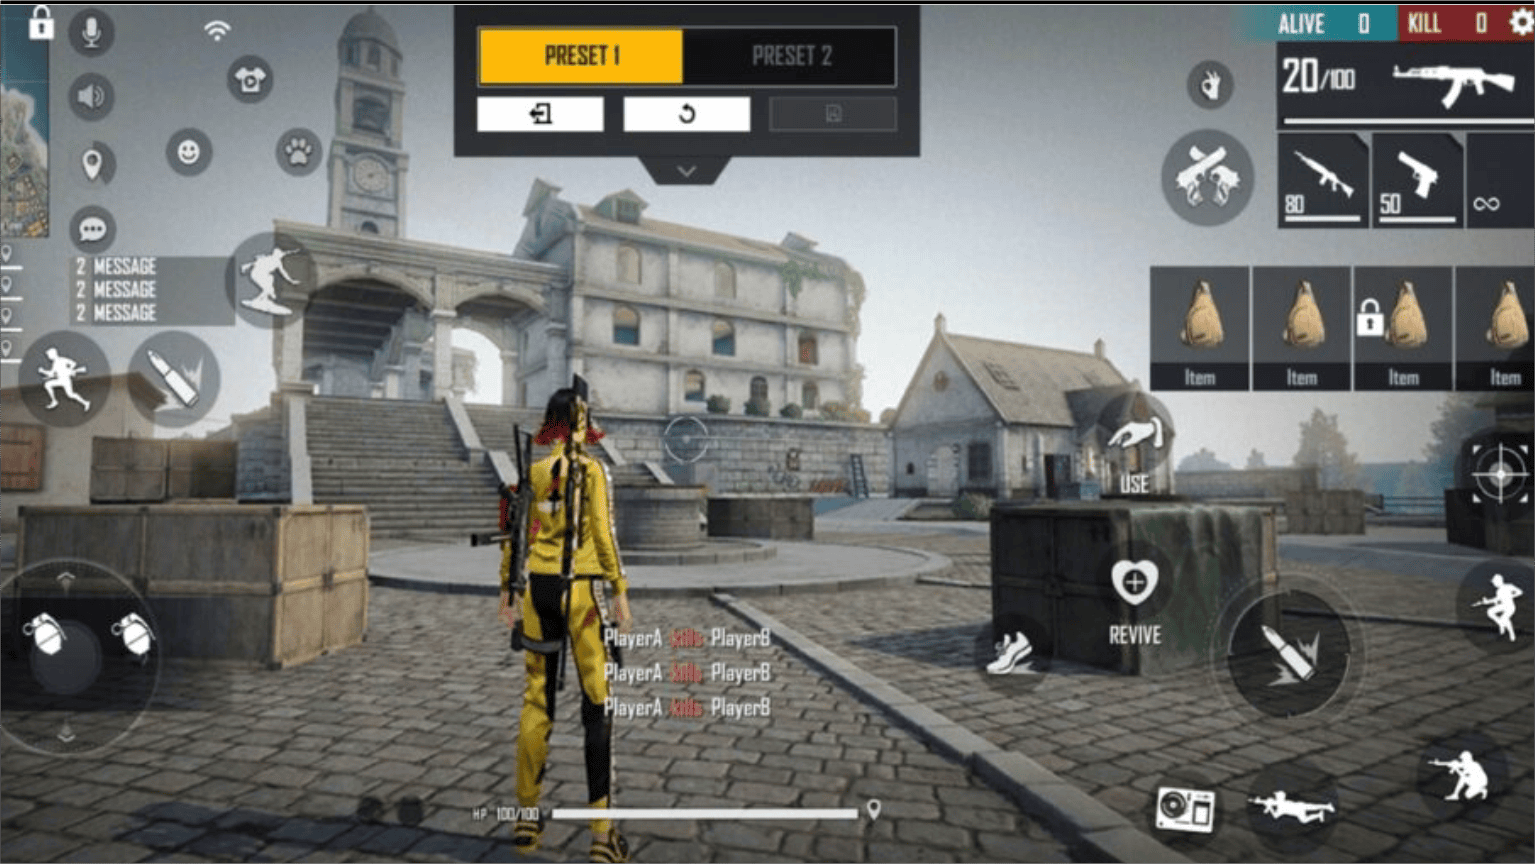
Free Fire MAX Auto Headshot Settings 2026
First, landing consistent headshots in Free Fire MAX is not about luck; it is purely mathematical. Because the game utilizes a heavy aim-assist mechanic, players often struggle to pull their crosshair away from the enemy’s chest. Consequently, millions of players search desperately for a “hack” to improve their accuracy.
However, you do not need illegal third-party software. To land an Free Fire MAX auto headshot, you simply need the correct professional sensitivity settings and the perfect custom HUD layout. Therefore, if you want to reach Grandmaster this season, you must copy the exact configurations detailed below.
1. The 2026 Pro Sensitivity Settings
Historically, amateur players leave their sensitivity settings on the default configuration. This is a massive mistake. Because default settings are too slow, your crosshair will get physically stuck on the enemy’s body armor.
Therefore, you must increase your sensitivity to allow the crosshair to smoothly glide up to the head. Open your game settings and perfectly replicate these exact numbers:
- General: 95 – 100 (This is the most critical setting. It controls your raw screen turning speed.)
- Red Dot: 90 – 95 (Allows for rapid drag-headshots in close-quarters Clash Squad matches.)
- 2x Scope: 85 – 90
- 4x Scope: 80 – 85 (Slightly lower to maintain precision during long-range battle royale engagements.)
- Sniper Scope: 45 – 50
- Free Look: 75 – 80
ALSO READ: Do you want to pair your new aiming skills with the perfect abilities? Therefore, you must read our Ultimate Free Fire MAX Character Combos 2026 Guide!
2. The Custom HUD (Fire Button Size)
Furthermore, adjusting your sensitivity is useless if your Custom HUD is improperly formatted. The physical size of your “Right Fire Button” directly controls how easily you can perform a drag headshot.
- Fire Button Size: You must set your Right Fire Button size strictly between 40% and 50%. If the button is too large, your thumb will mathematically run out of screen space when trying to swipe upward.
- Fire Button Placement: Next, you must drag the Fire Button to the bottom-right quadrant of your screen. Because it sits lower on the screen, your thumb has significantly more physical glass to swipe up across.
3. The “Drag Headshot” Technique
Finally, now that your settings are mathematically perfect, you must execute the drag technique.
When you encounter an enemy, do not simply hold the fire button down. Instead, you must lock the crosshair near the enemy’s upper chest. Instantly, you must physically drag your right thumb aggressively upward toward the top of your phone screen while firing. Because your new high General Sensitivity allows the crosshair to break away from the chest aim-assist, the bullets will magnetically snap directly to the enemy’s head!
ALSO READ: Are you also trying to reach the Conqueror tier in BGMI this season? Therefore, you must study our BGMI Ethical Hacks & Rank Pushing Guide!
In conclusion, mastering the auto headshot mechanic takes practice in the Training Grounds. Therefore, you must load up the practice range, apply these exact settings, and warm up your drag-swipes for at least 15 minutes before playing a ranked match!
What is your current General Sensitivity setting? Are you struggling to land headshots with the Desert Eagle or the M1887? Let us know in the comments below!