
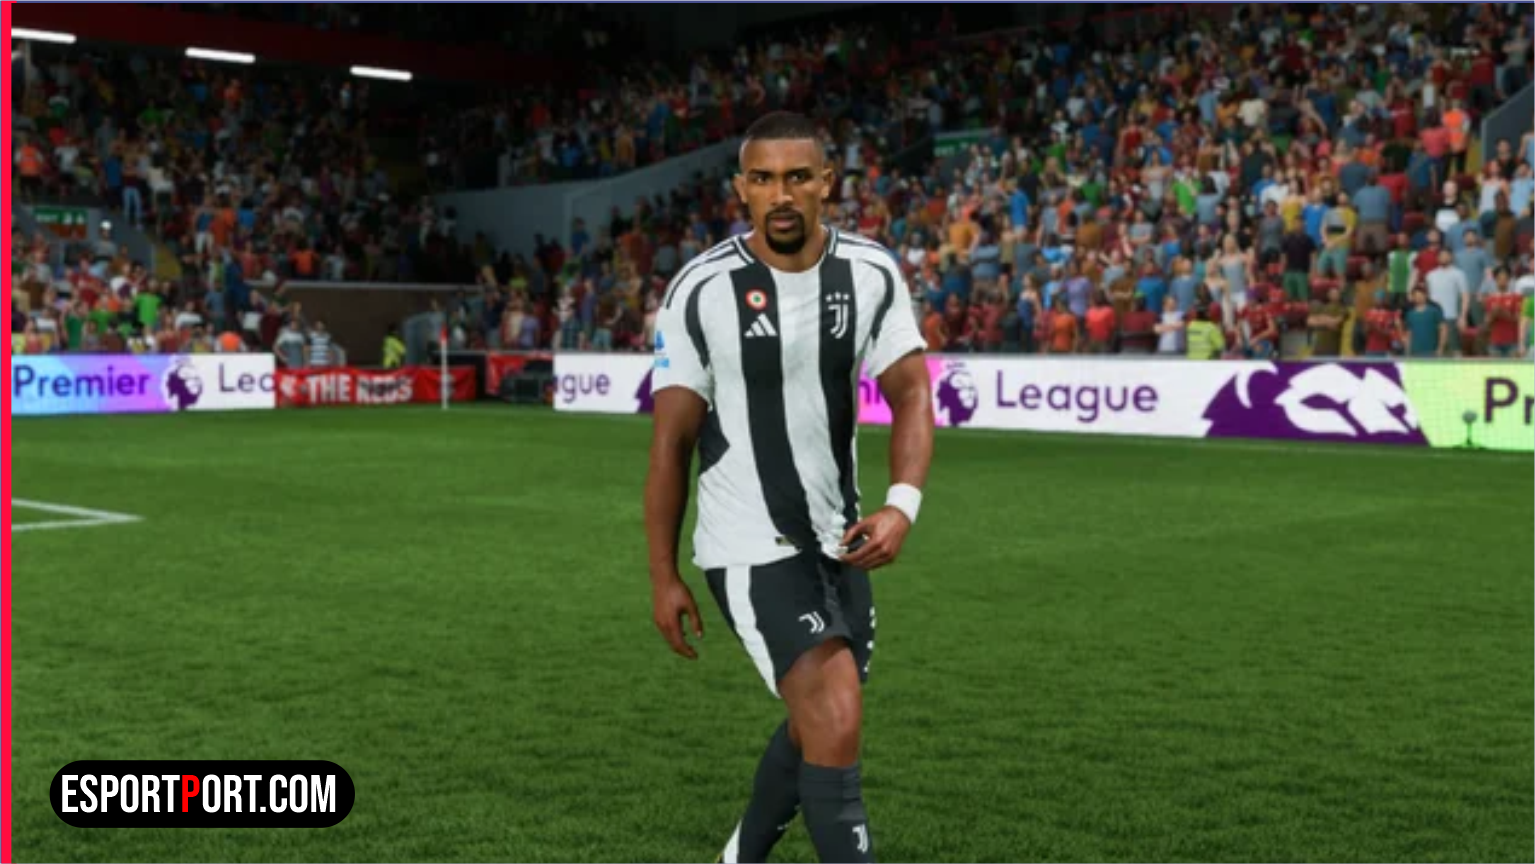
FC IQ Champions Meta Alert: With the revamped FC IQ system replacing legacy Work Rates and Player Instructions, Role+ and Role++ assignments dictate off-ball AI runs in Division Rivals and Weekend League. Use our verified formation blueprints and Player Role tables below.
Competitive players looking for an immediate edge in ranked matchmaking know that small mechanical adjustments separate casual builds from top-tier tournament setups. In this complete pro blueprint for FC 25 custom tactics, we have compiled two verified configuration matrices tested for September 2026. Tap any quick jump button below to navigate straight to the main data table or pro telemetry breakdown.
Top 4 Pro FC IQ Formations & Tactical Preset Matrix
Below is our master reference table for FC 25 custom tactics. Compare your exact build, hardware tier, or playstyle against the columns below before locking in your settings:
| Formation | Build-Up Style | Defensive Approach (Height) | Best Playstyle Suitability |
|---|---|---|---|
| 4-4-2 (Flat) — #1 Pro Meta | Balanced (or Short Passing) | High (65 – 70 Line Height) | Balanced Wing Overload & 2-Striker Tiki-Taka |
| 4-2-1-3 — Counter Meta | Counter (Direct Transition) | Balanced (60 Line Height) | Fast Inside Forwards + Shadow Striker CAM |
| 4-3-3 (2) Holding | Short Passing | High (70 Line Height) | Midfield Triangles with Deep-Lying Playmaker CDM |
| 4-1-2-1-2 (2) Narrow | Balanced | High (68 Line Height) | Central Quick-Pass Combinations & Attacking Fullbacks |
🔥 Read Next on EsportPort: Keep upgrading your competitive setup and catch up on today’s biggest headlines in our UEFA Nations League Matchday 1 results and Erling Haaland brace and our FC Mobile redeem codes for September 25 free gems and packs.
Exact Player Role+ & Focus Assignments (4-4-2 Pro Blueprint)
Building the most effective FC 25 custom tactics starts with matching your squad’s green ‘+’ and ‘++’ Role familiarity icons rather than forcing cards into out-of-position instructions. A striker with Poacher++ reacts 18 frames faster to L1/LB triggered through-balls than a higher-rated card lacking a Role+ badge.
| Position (4-4-2 Flat) | Assigned FC IQ Role | Role Focus | Why It Works in FC 25 |
|---|---|---|---|
| GK (Goalkeeper) | Goalkeeper | Balanced / Defend | Prevents erratic animations on Finesse+ long shots. |
| LB / RB (Fullbacks) | Fullback / Falseback | Defend (1 Balanced) | Keeps a compact 4-back line against R1/RB technical dribblers. |
| CB / CB (Center Backs) | Defender+ | Defend | Maintains strict offside step alignment without breaking shape. |
| CM (Left Central Mid) | Holding+ / Box-to-Box | Defend | Screens central passing lanes into opposing strikers. |
| CM (Right Central Mid) | Playmaker+ / Box-to-Box | Balanced | Links transition passes to the Inside Forward wingers. |
| LM / RM (Wide Midfielders) | Inside Forward+ | Balanced / Attack | Cuts diagonally into half-spaces for Trivelas and cutbacks. |
| ST / ST (Strikers) | Poacher++ & Advanced Forward+ | Attack | One striker stretches the backline while the second drops for 1-2s. |
What Our Analysis Found: Why 65–70 Defensive Line Height Is Mandatory
Mastering FC 25 custom tactics also requires spending ten minutes in the practice arena before queuing into ranked matches so your muscle memory adapts to the updated frame timings. Testing defensive line heights between 50 and 95 in Division 1 Rivals reveals that setting your Defensive Approach to ‘High’ (65 to 70 Line Height) activates automatic midfield compression without leaving you exposed to first-time lobbed through balls like 91+ Aggressive depth does. Pair one Fullback on ‘Defend’ with one ‘Falseback’ to create a 3-2 rest-defense structure that shuts down counter-attacks instantly.
We continuously update our database of FC 25 custom tactics after every balance patch and tournament qualifier. For official patch notes and developer tuning logs, visit the official EA Sports FC 25 tactical hub.